
Before You Begin
Skill Level: Beginner
Technique: Piecing Fundamentals
Time Required: About 10 minutes
Tools Needed: Sewing machine, quilting ruler, rotary cutter, iron, fabric scraps
Introduction
If you've ever wondered why your quilt blocks don't quite match the measurements in a pattern, your seam allowance is often the first place to look.
Most quilt patterns are designed around a scant ¼" seam allowance, though the exact setting varies slightly from one sewing machine to another. The goal isn't to sew a mathematically perfect quarter-inch seam—it's to produce units that finish at the correct size.
Even a seam that's off by the width of a thread can add up over multiple pieces, leading to blocks that are too large, too small, or difficult to assemble.
The good news? Once you've dialed in your machine, checking your seam allowance only takes a few minutes and can make every project more enjoyable.
Why a ¼" Seam Matters
Unlike garment sewing, quilting relies on many small pieces fitting together precisely. A seam allowance that's only slightly too wide or too narrow may not seem important on a single seam, but those tiny differences multiply as your quilt grows.
When your seam allowance is accurate, your blocks finish at the correct size, your points line up more consistently, and assembly becomes much less frustrating. Spending a few minutes checking your seam allowance before starting a project is one of the easiest ways to improve the accuracy of every quilt you make.
What Is a Scant ¼" Seam?
You may hear quilters talk about sewing a scant ¼" seam, but what exactly does that mean?
A scant ¼" seam is simply a seam that's just a thread narrower than a true quarter inch. Because thread has thickness and the fabric folds over the stitching line when pressed, sewing a perfectly measured ¼" seam doesn't always produce pieced units that finish at the correct size.
The important thing to remember is that there isn't one universal scant ¼" measurement. Every sewing machine, presser foot, thread, and quilter is a little different.
Rather than chasing an exact measurement, focus on achieving accurate finished units. If your test pieces measure correctly after pressing, you've found the right seam allowance for your machine.
Testing Your Seam Allowance
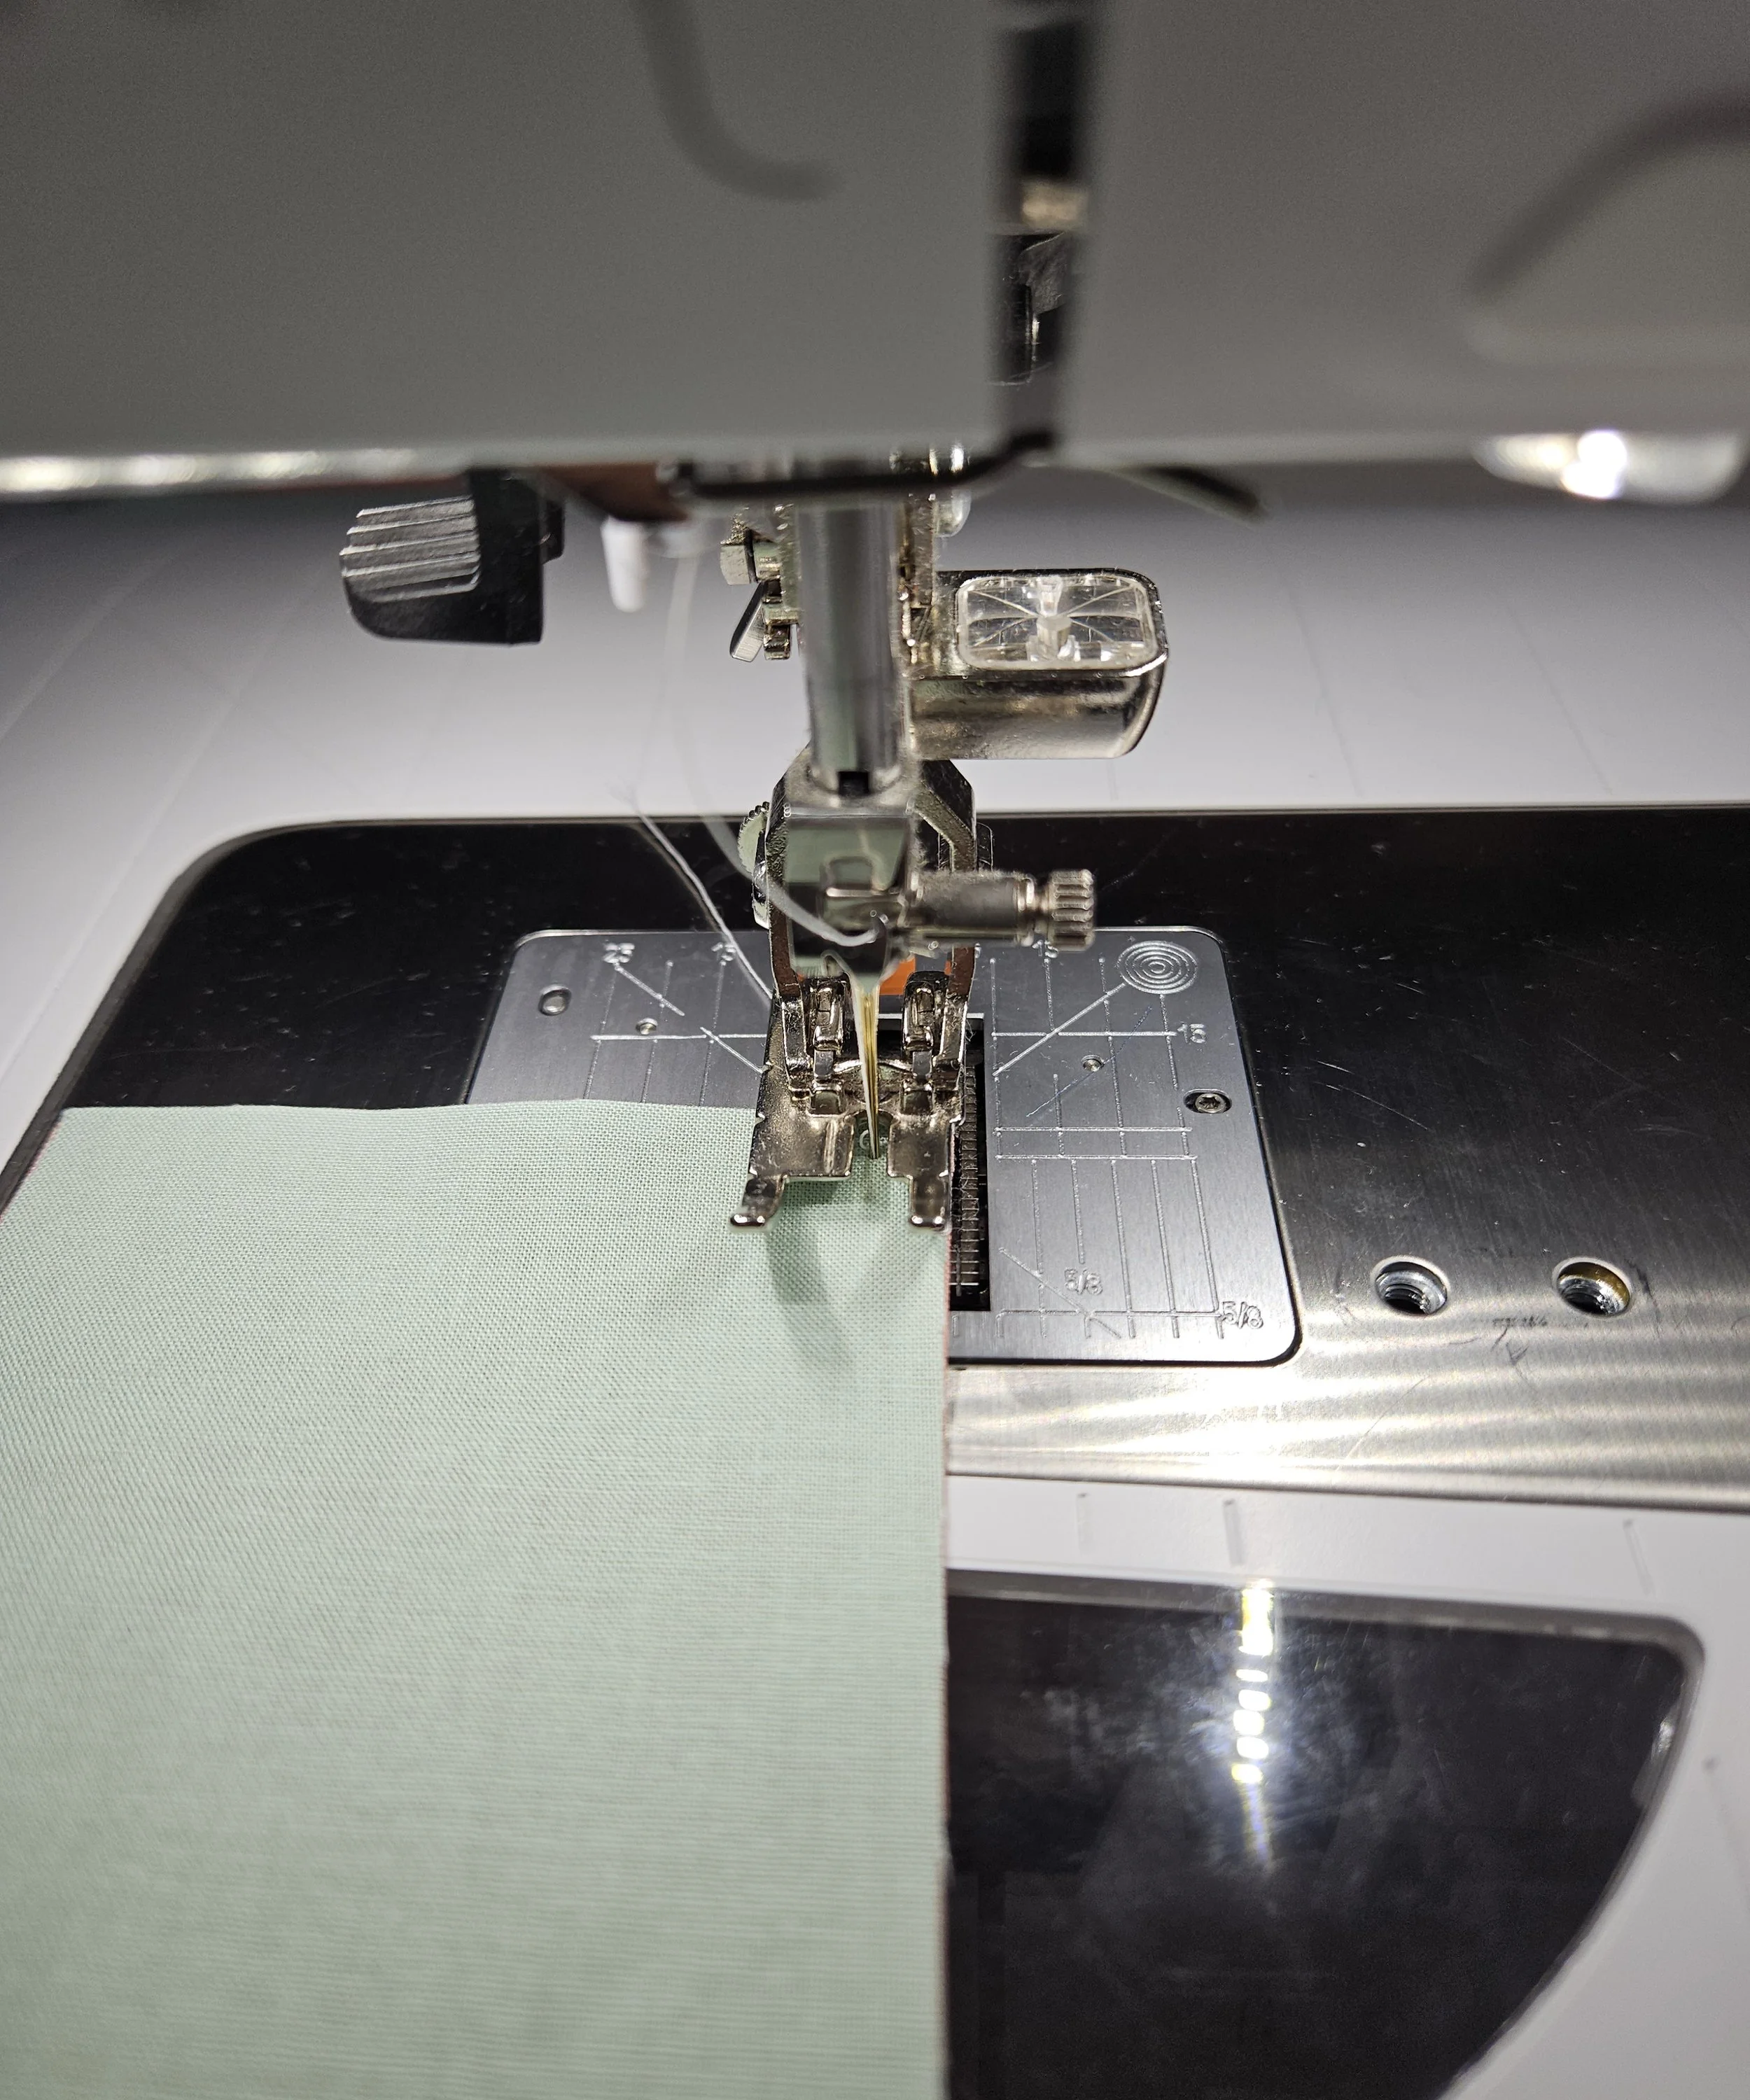
Before beginning a new quilt, sew a quick test using fabric scraps.
Join several strips together using your normal quilting settings, press the seams, and measure the finished unit. If the measurement matches the expected size, you're ready to start quilting.
If your test finishes too small or too large, make a small adjustment to your needle position or seam guide and test again until your measurements are accurate.
Taking a few minutes to test now can save hours of frustration later.
Tips for Better Accuracy
Let your sewing machine feed the fabric naturally. Avoid pulling or pushing the fabric through the machine.
Press your seams before measuring any pieced unit.
Recheck your seam allowance whenever you change presser feet or needle positions.
Test your seam allowance whenever you begin a new quilt, especially if accuracy is important.
Consistency matters more than speed. A steady pace helps produce more uniform results.
Common Mistakes
Measuring Before Pressing
Always press your seams before measuring. Pressing can slightly change the finished size of a pieced unit.
Pulling the Fabric
Let the feed dogs do the work. Pulling or stretching the fabric can affect both your seam allowance and the finished accuracy of your blocks.
Skipping the Test
It only takes a few minutes to sew a test sample, but it can prevent hours of frustration later in your project.
From My Sewing Room
One of the habits that's made the biggest difference in my quilting is taking a few minutes to test my seam allowance before I begin cutting into my project fabric. I'd much rather discover I need a tiny adjustment while working with scraps than after I've pieced an entire block.
It's a small investment of time that pays off throughout the rest of the quilt.
Frequently Asked Questions
-
Not necessarily. A ¼" quilting foot can make it easier to maintain a consistent seam allowance, but many quilters achieve excellent results with a standard presser foot after taking the time to test their seam allowance.
-
I recommend testing whenever you start a new project, change presser feet, switch thread, or notice your blocks aren't finishing at the expected size.
-
The most common cause is a seam allowance that's just slightly too wide or too narrow. Even small differences become noticeable when multiple pieces are sewn together.
