
Before You Begin
Skill Level: Beginner
Technique: Traditional Piecing
Time Required: About 10–15 minutes
Tools Needed: Sewing machine, rotary cutter, quilting ruler, marking pencil, iron, one center square, four corner squares
Introduction
The Square-in-a-Square unit is exactly what its name suggests—a center square surrounded by four triangles. It's a versatile building block used in everything from traditional quilt blocks to modern geometric designs.
This version uses a simple method, sewing triangles to each side of the square, making it beginner-friendly while producing accurate results with no specialty tools. The initial square is smaller than the square used to cut the triangles, but the additional size of the triangles makes trimming to size easy.
Step 1 – Prepare the Center Square
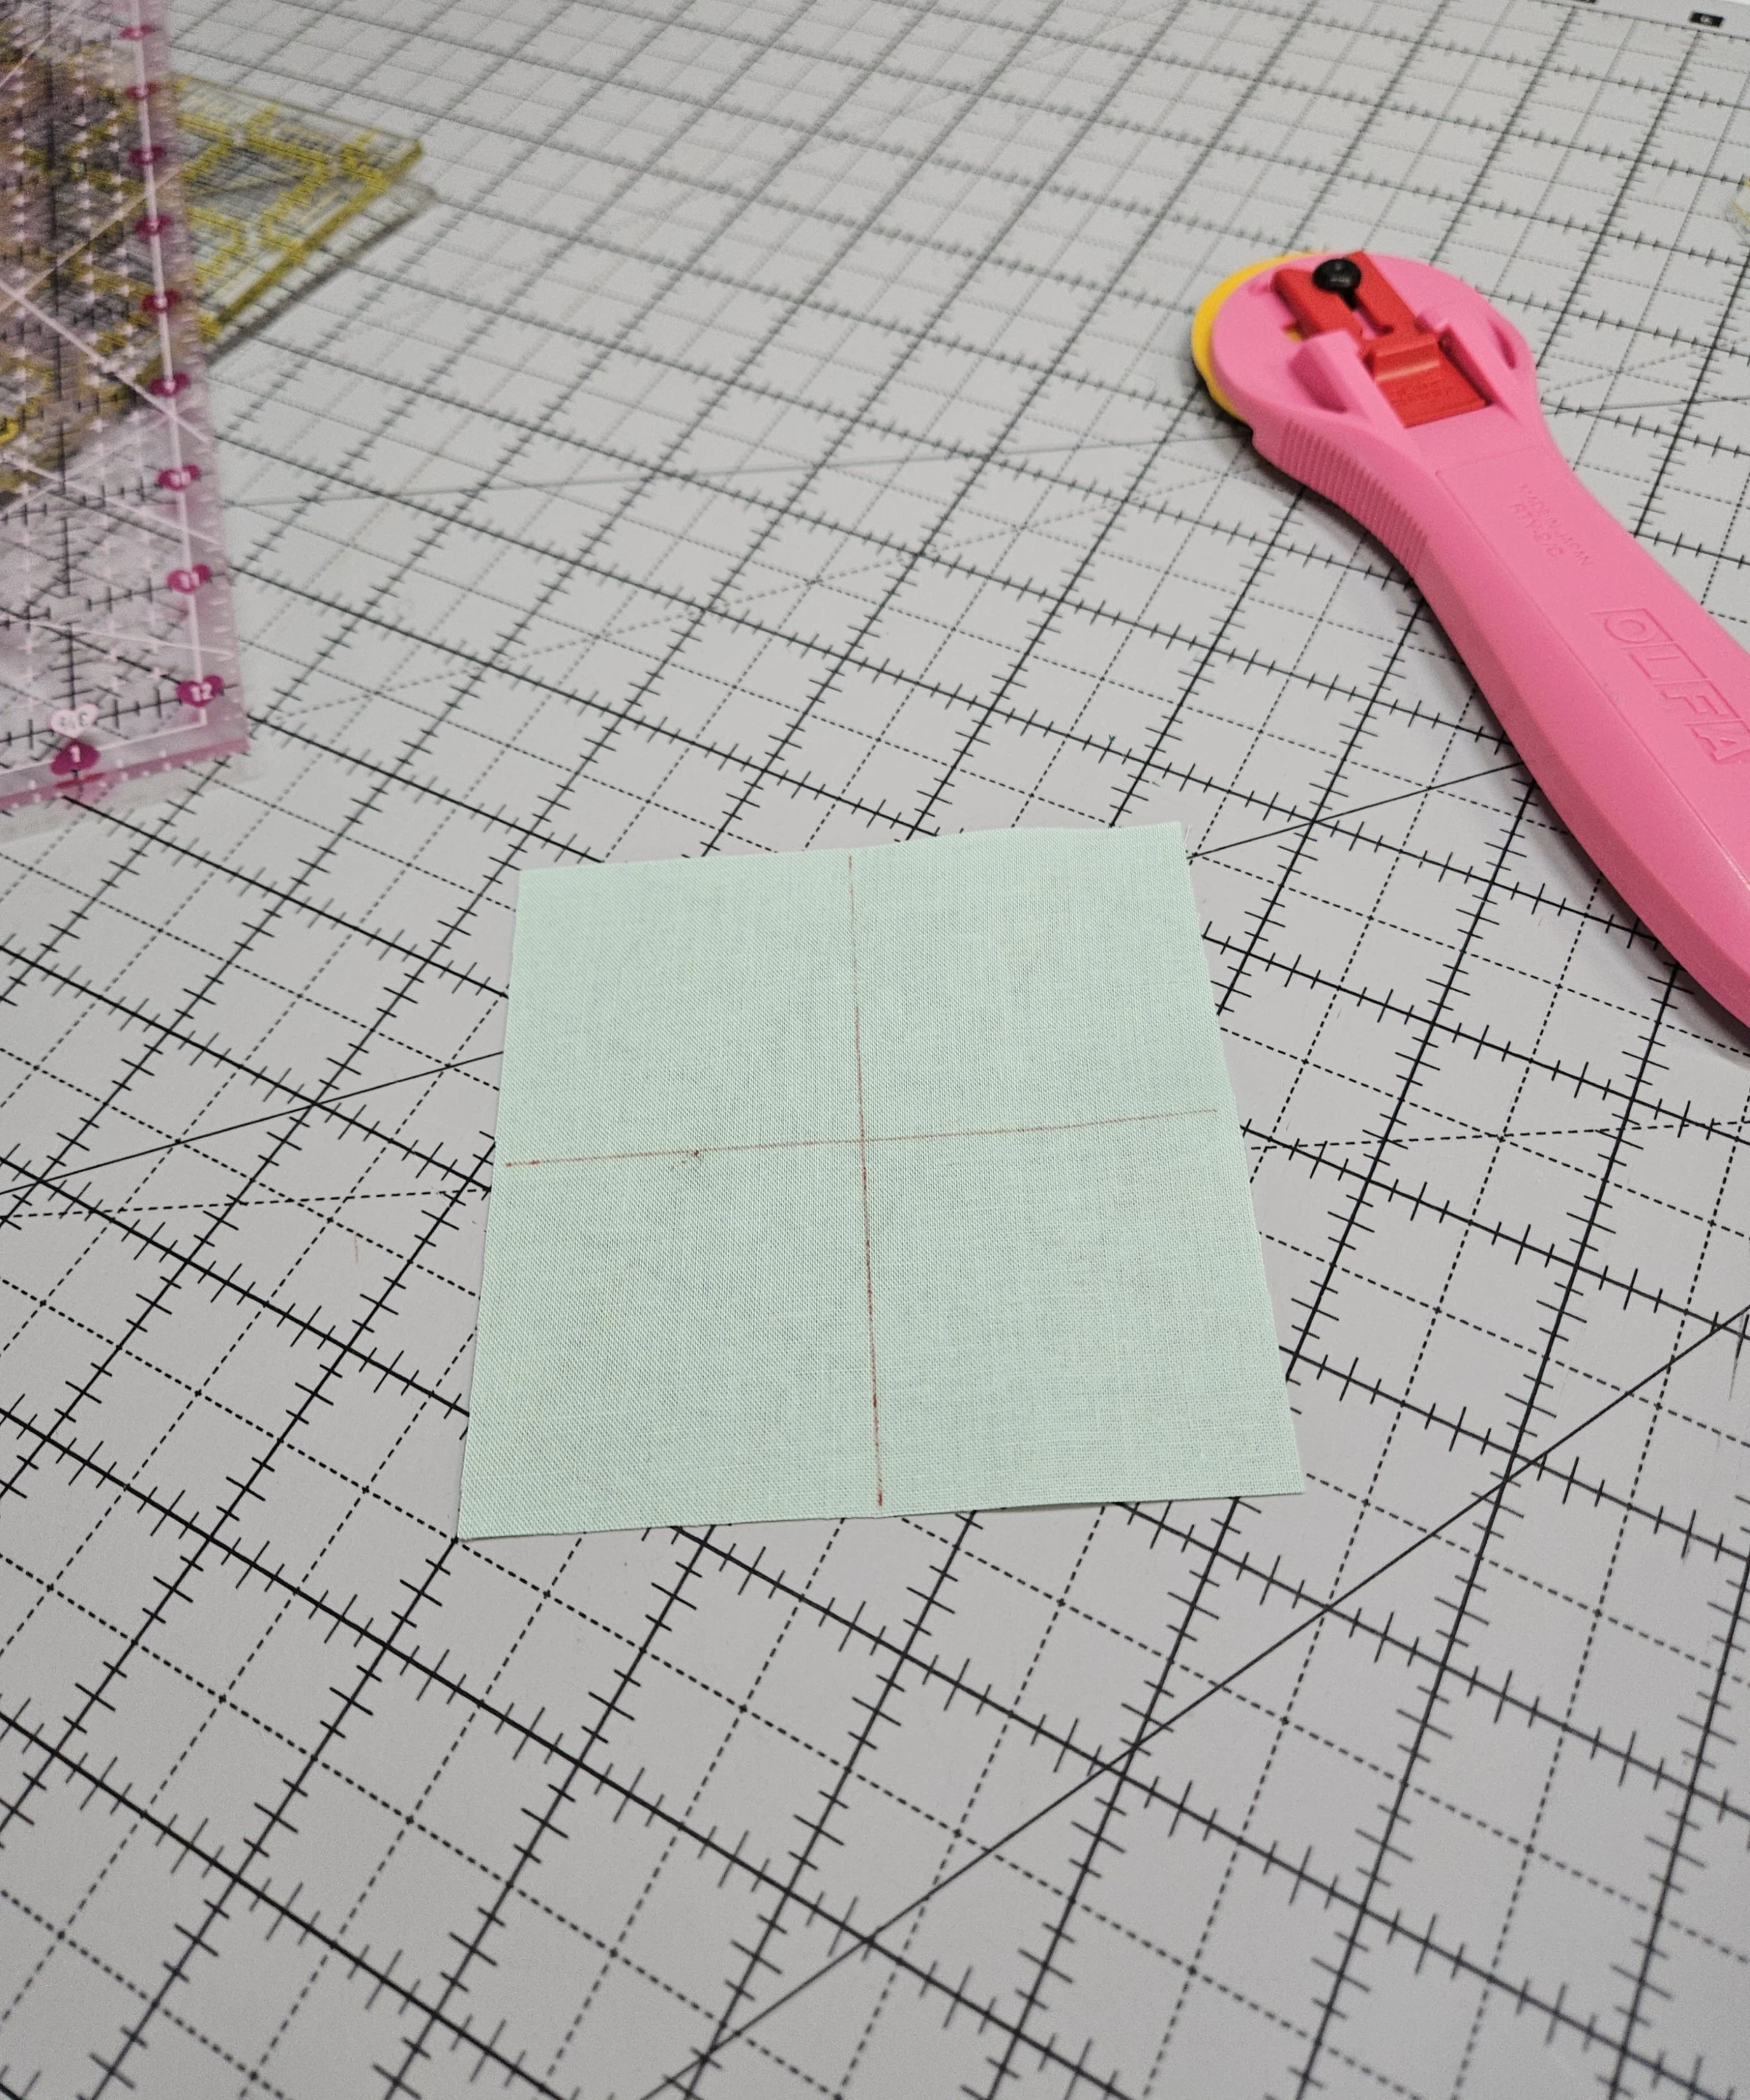
Mark a line at the half way point of the square, both top to bottom, and right to left.
The square should always be the size indicated in your pattern.
Make it stand out
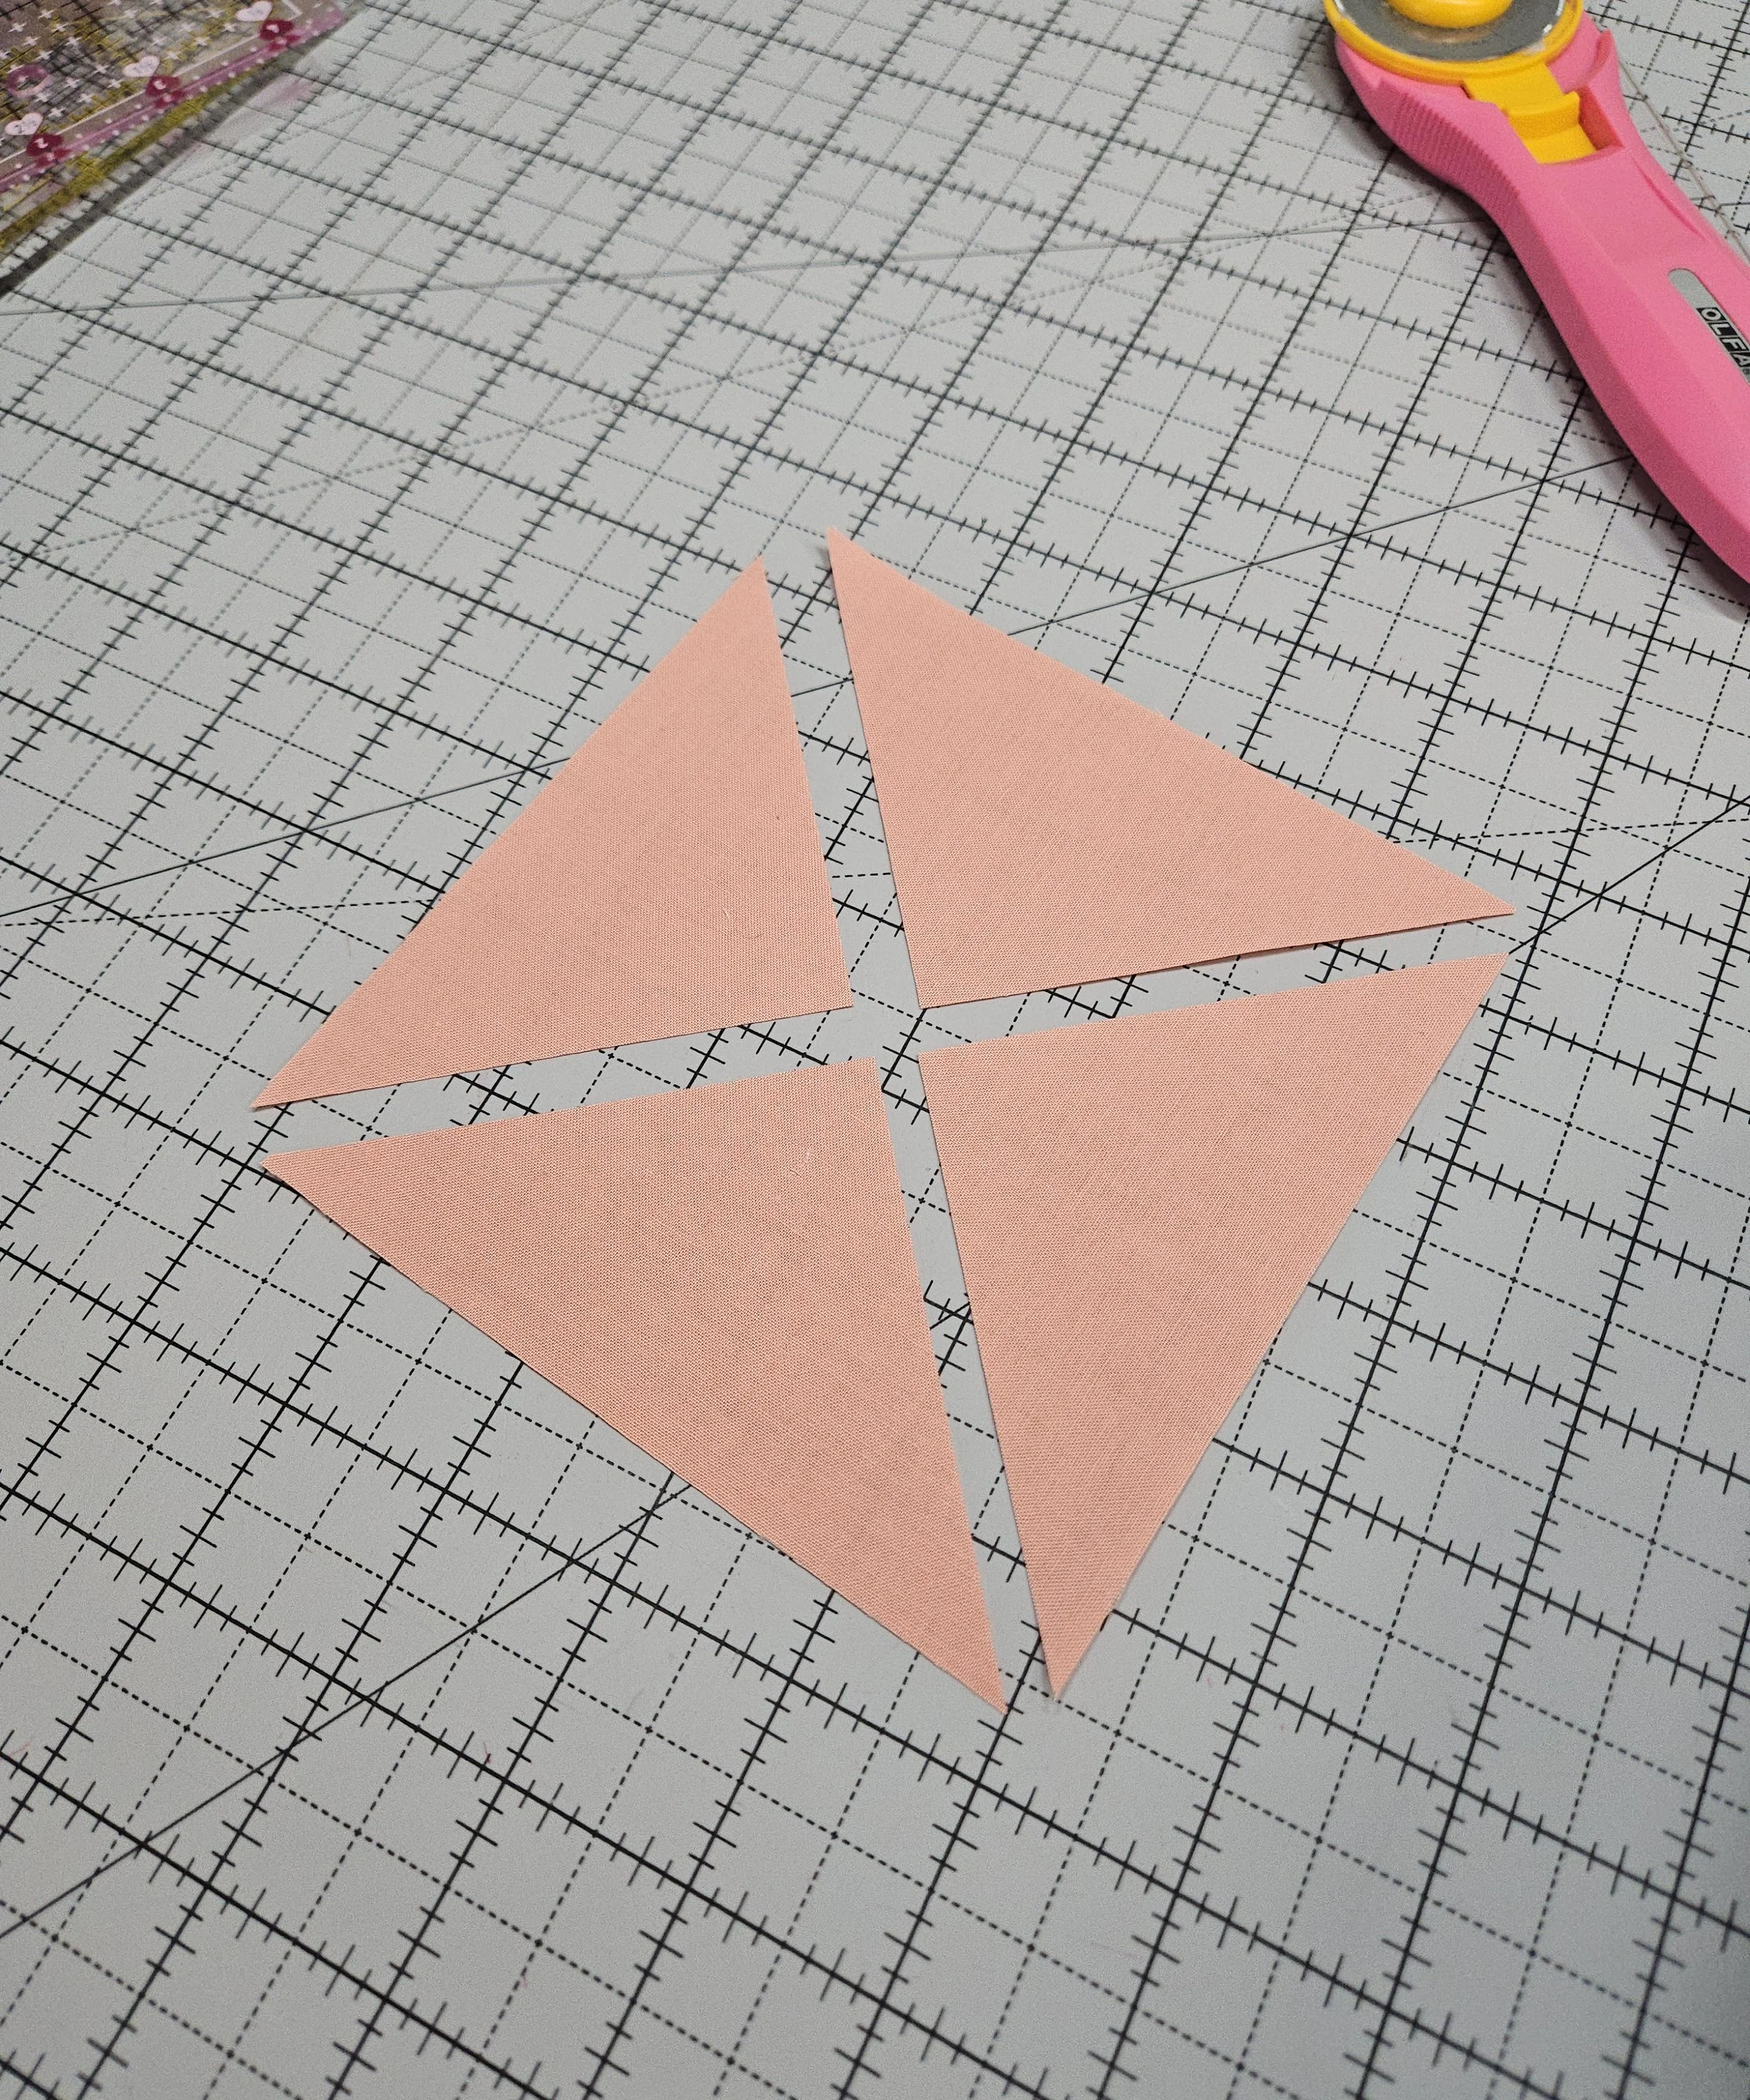
Cut a square, 1.5 inches larger than your starting square (above).
Cutting corner to corner in both directions, cut into 4 triangles.
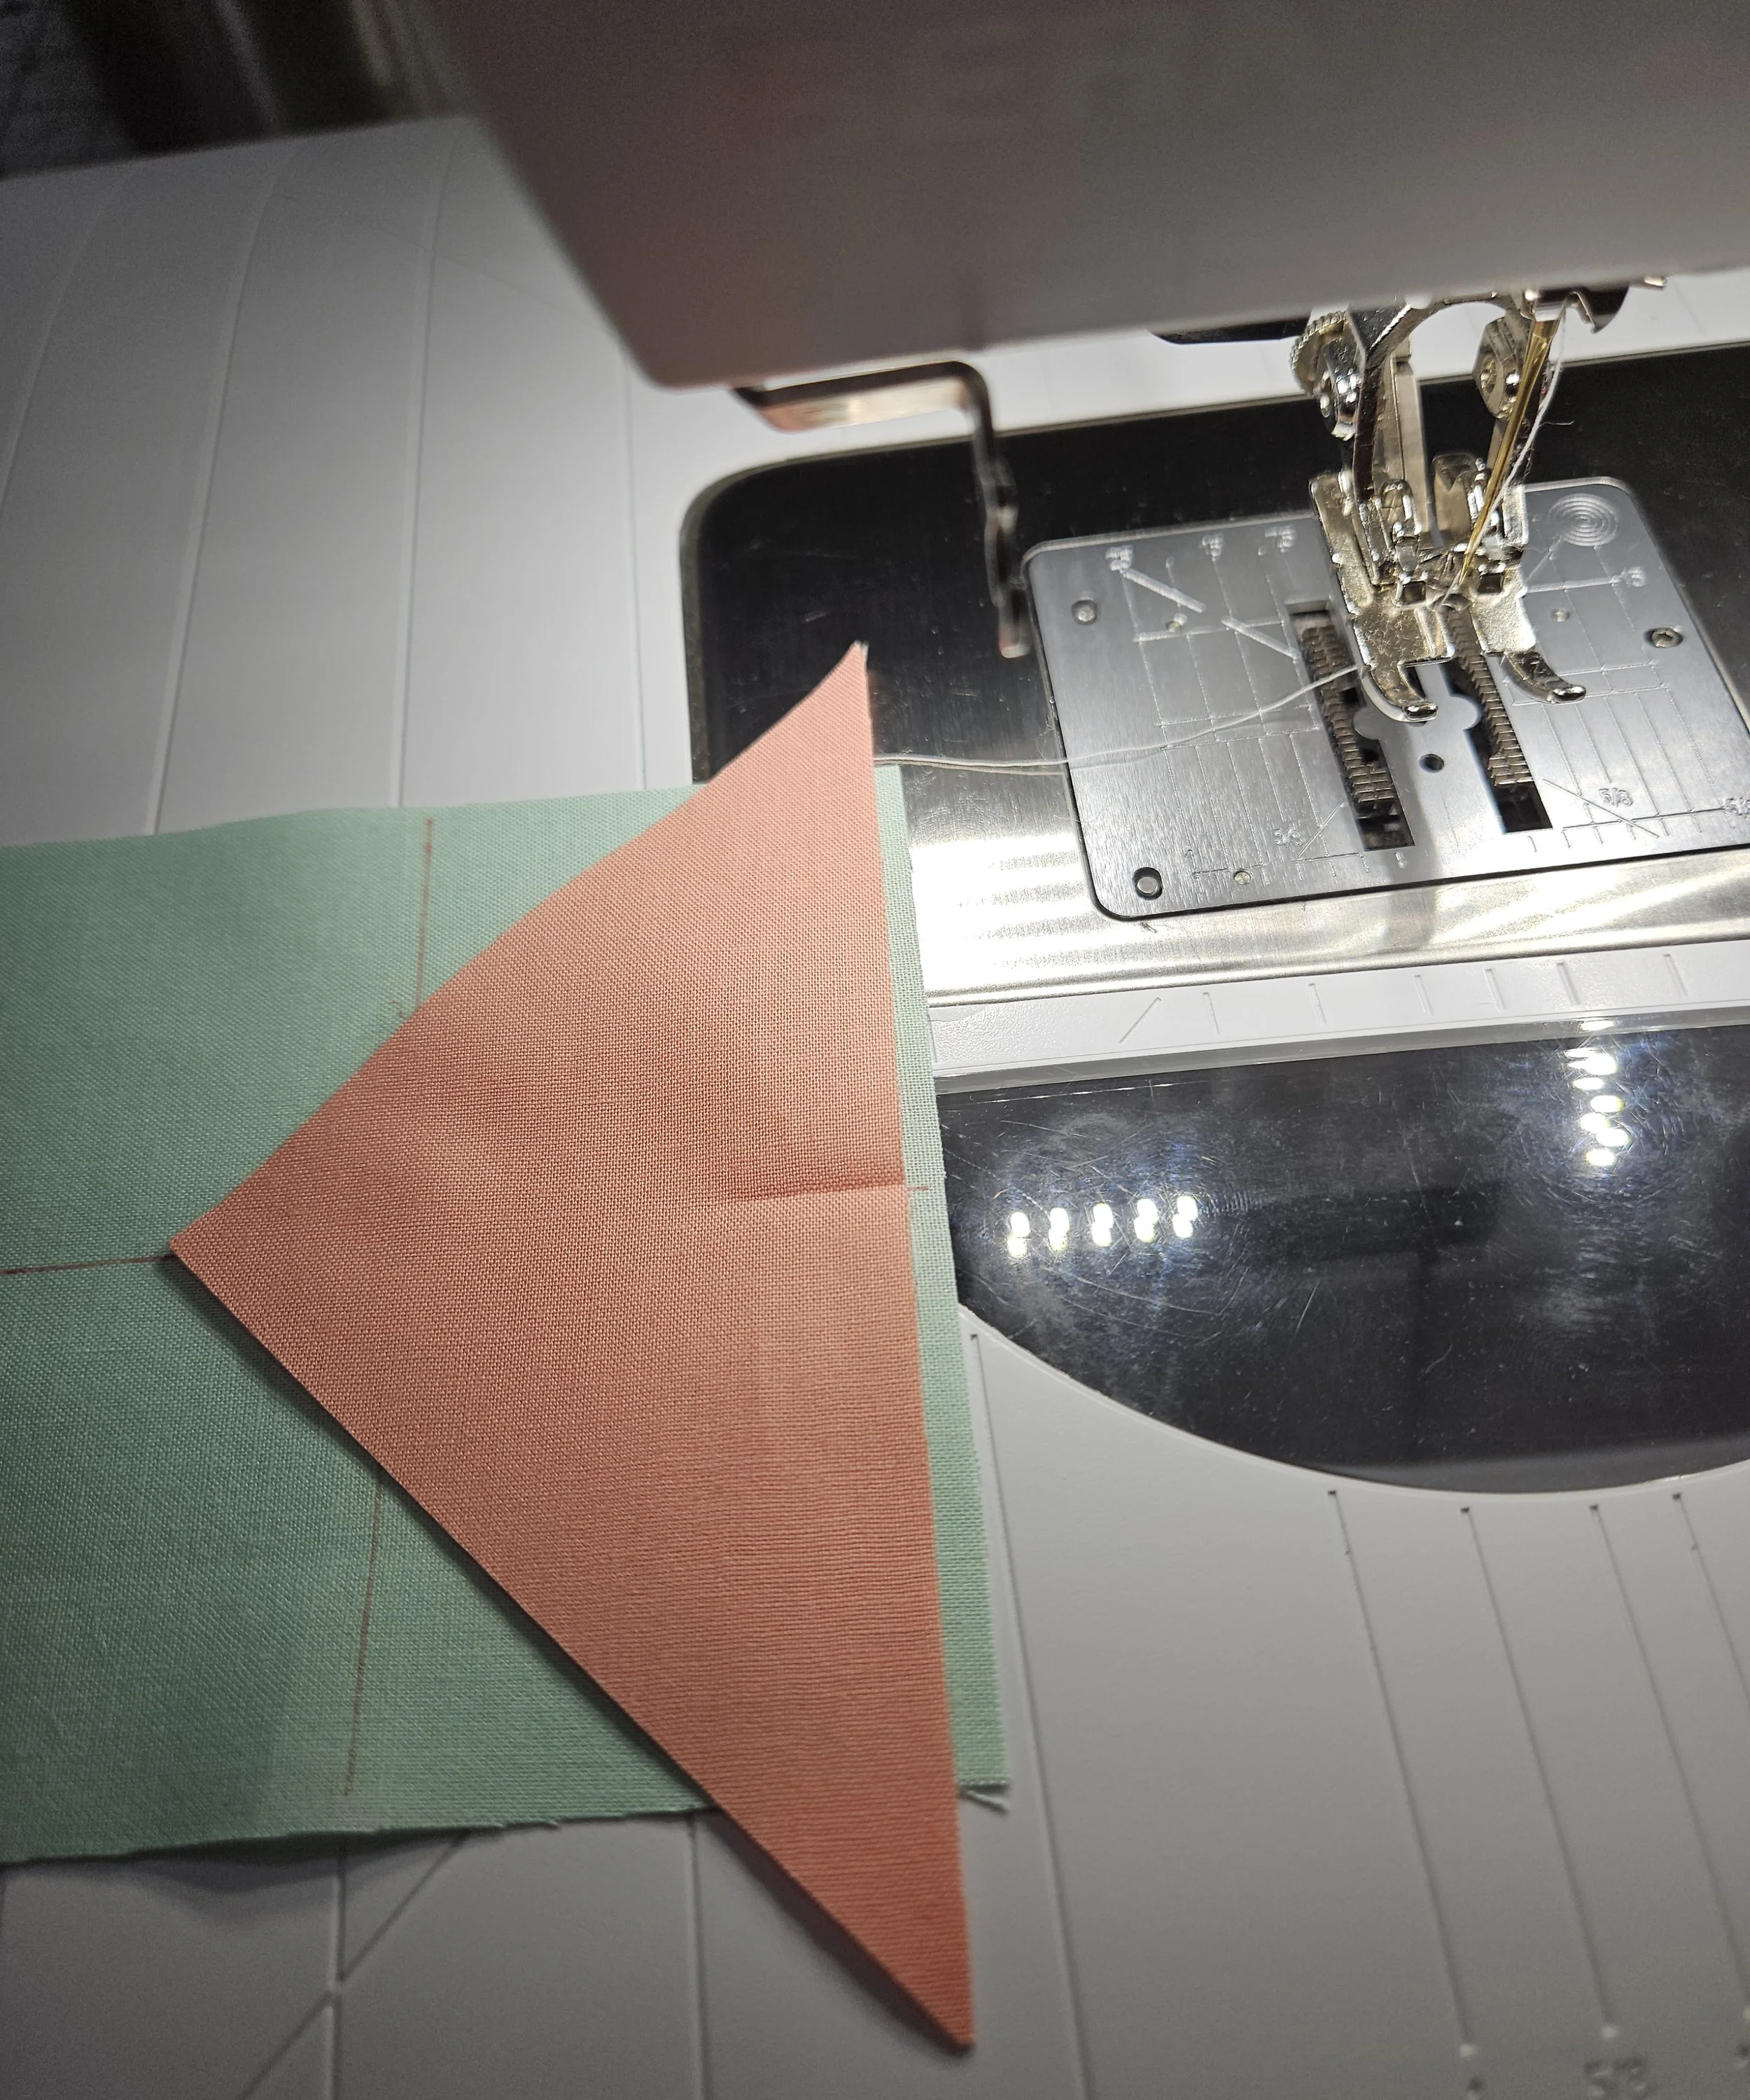
Fold each triangle in half and crease. Line up at the center point of one side.
Sew
Open and press the triangle out.
Step 2 – Repeat
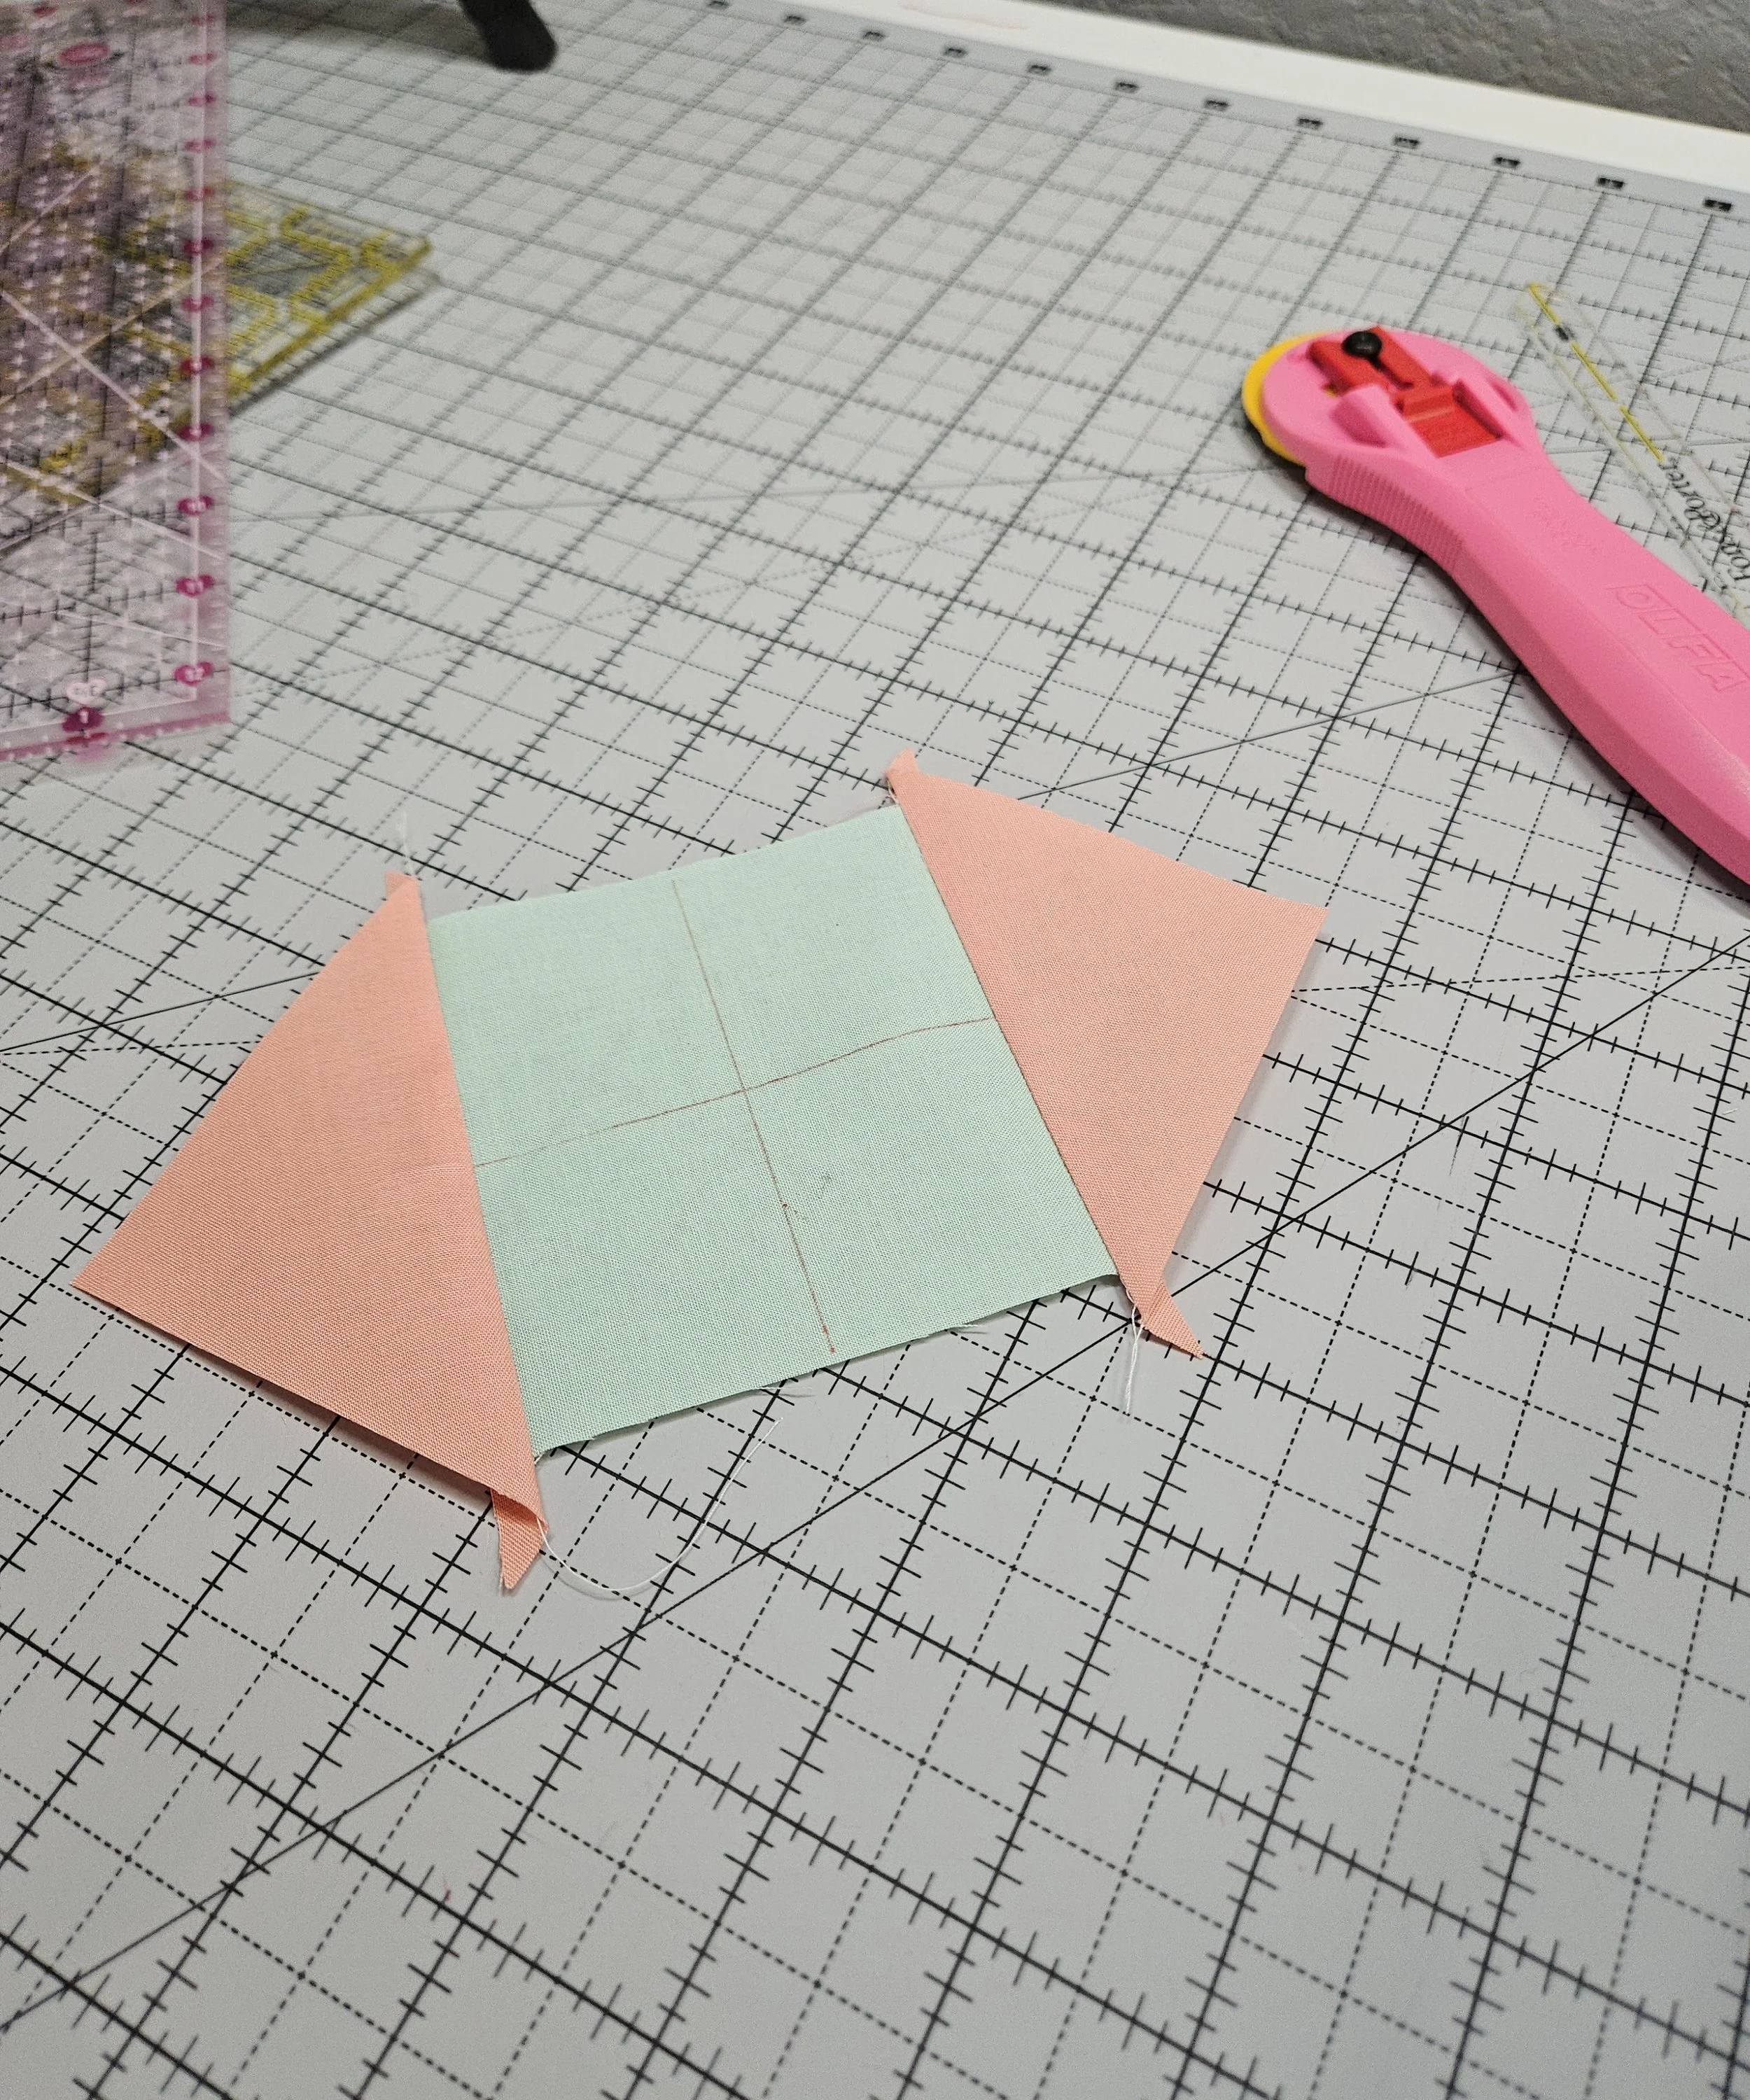
Sew triangles to opposite sides of the square.
Press open. The triangles will overlap by quite a lot. This is on purpose and helps trimming later.
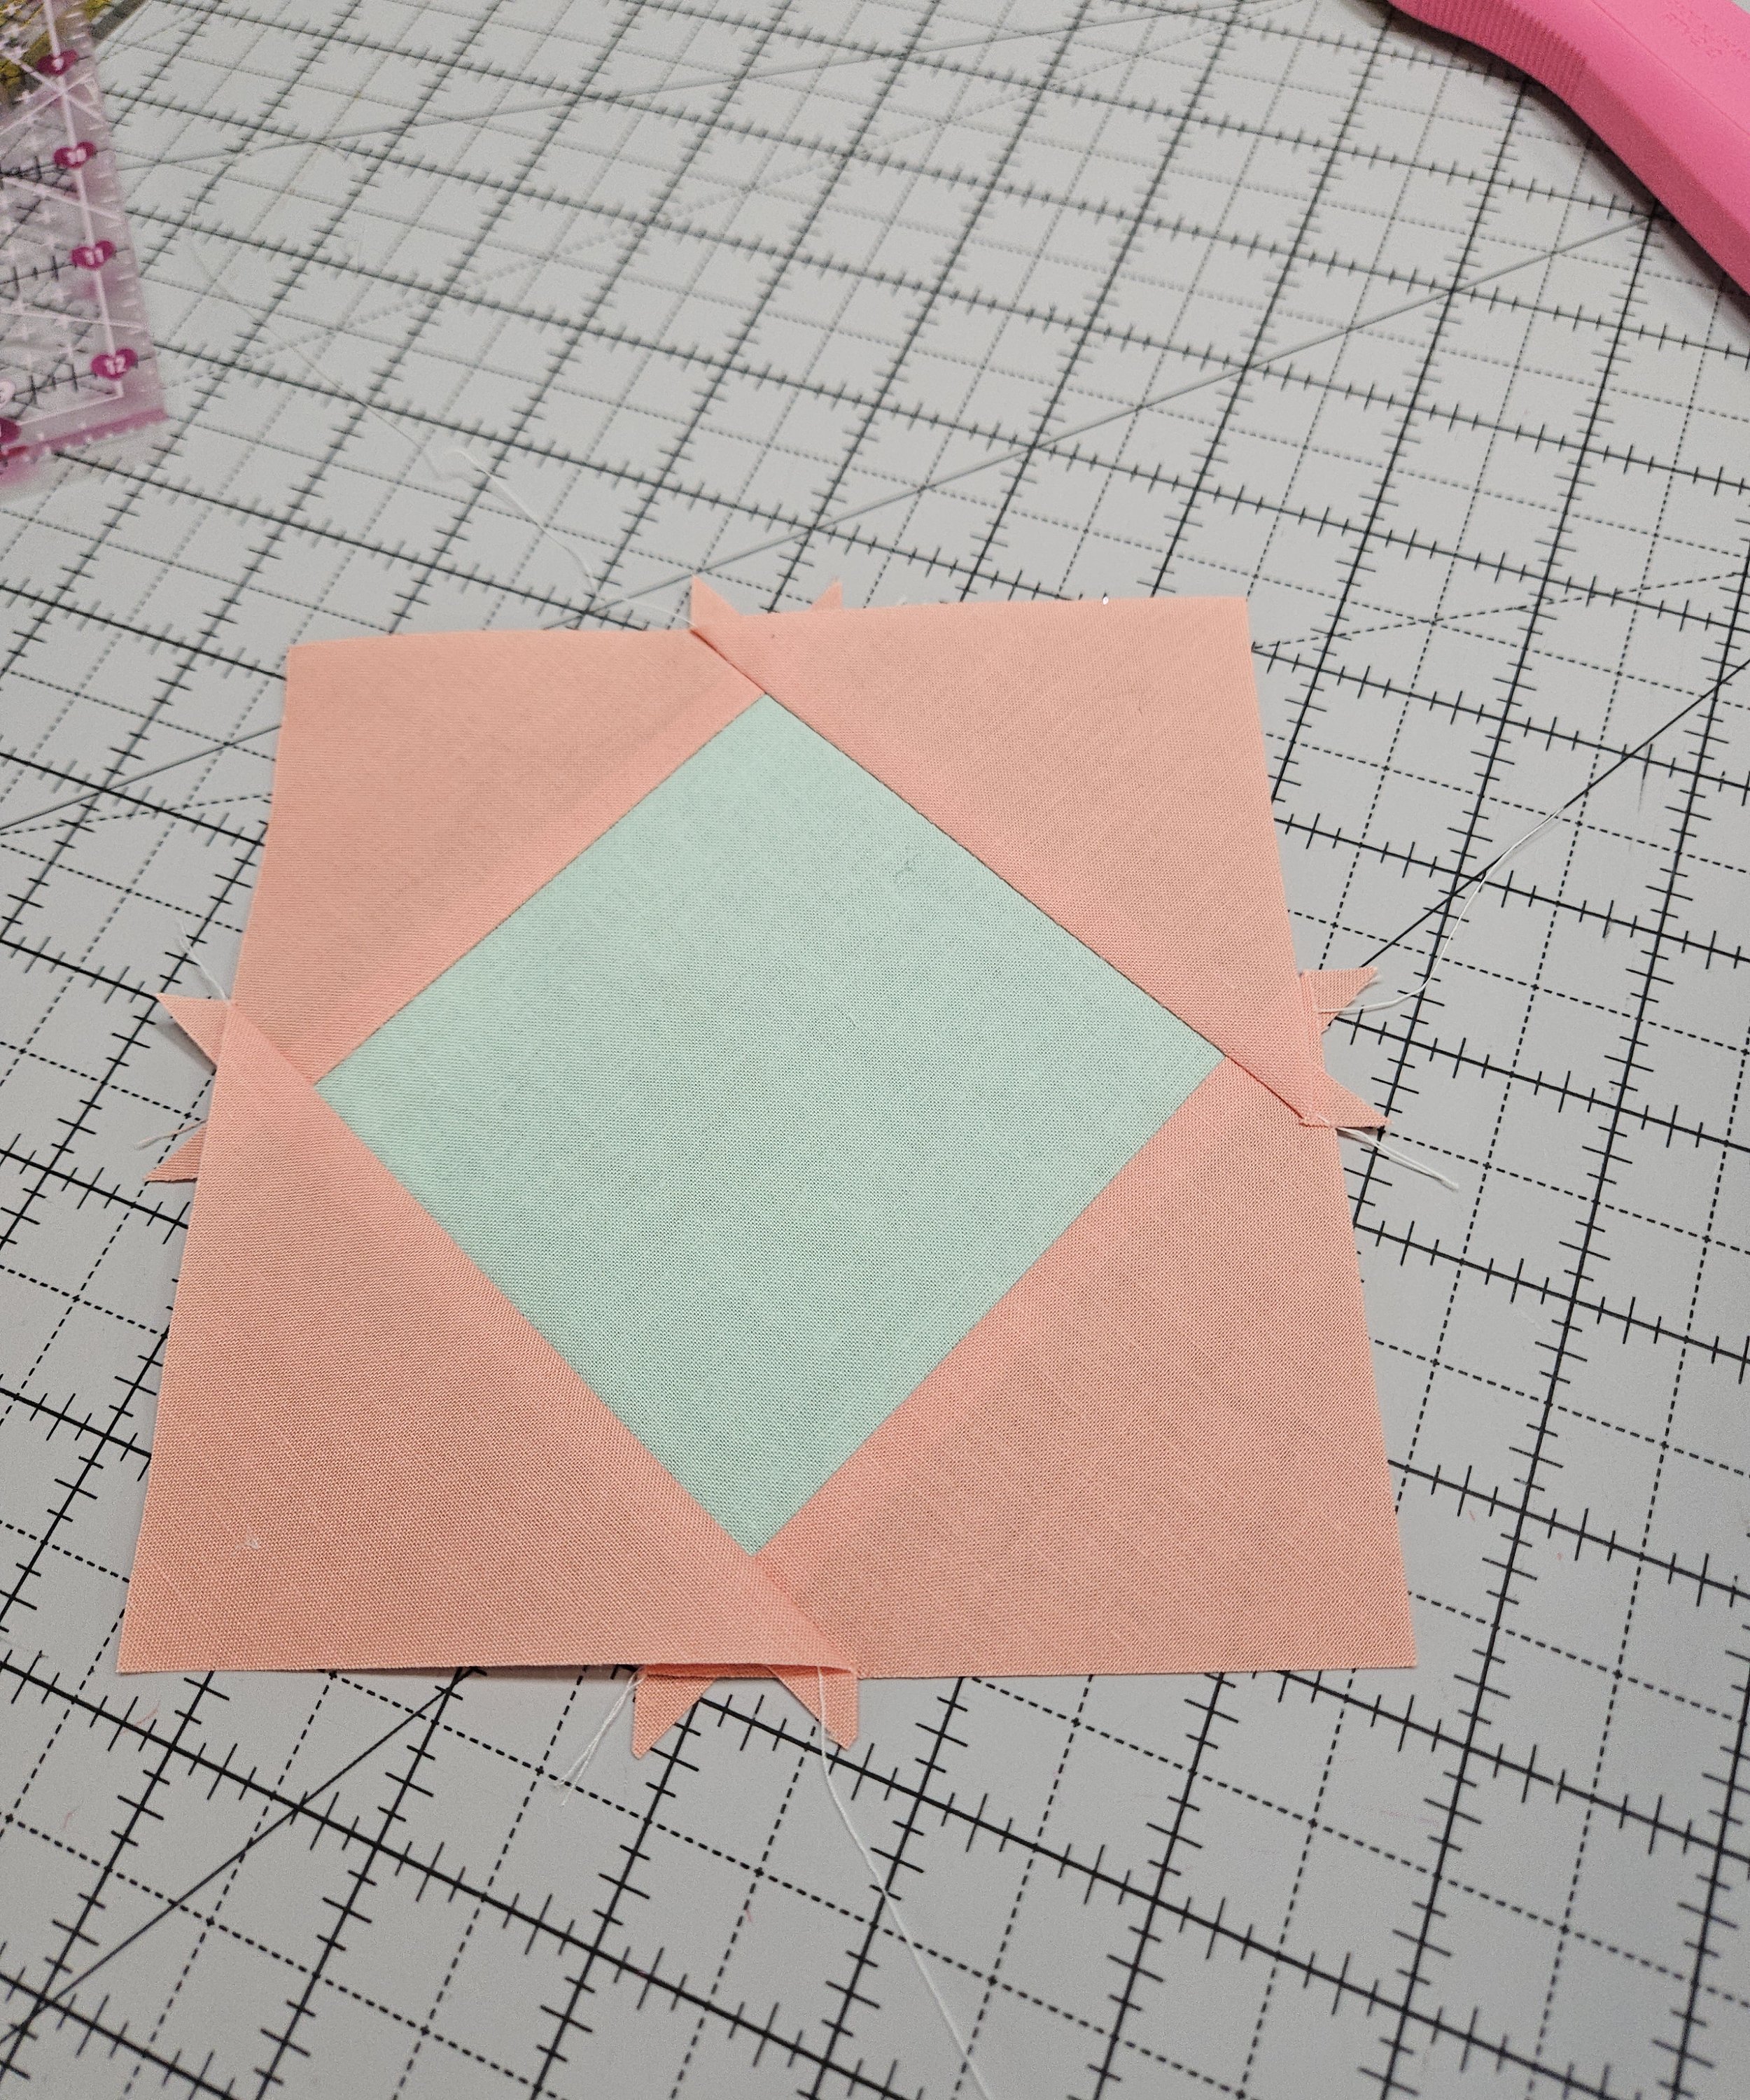
Sew triangles to remaining sides.
Step 3 – Square the Unit
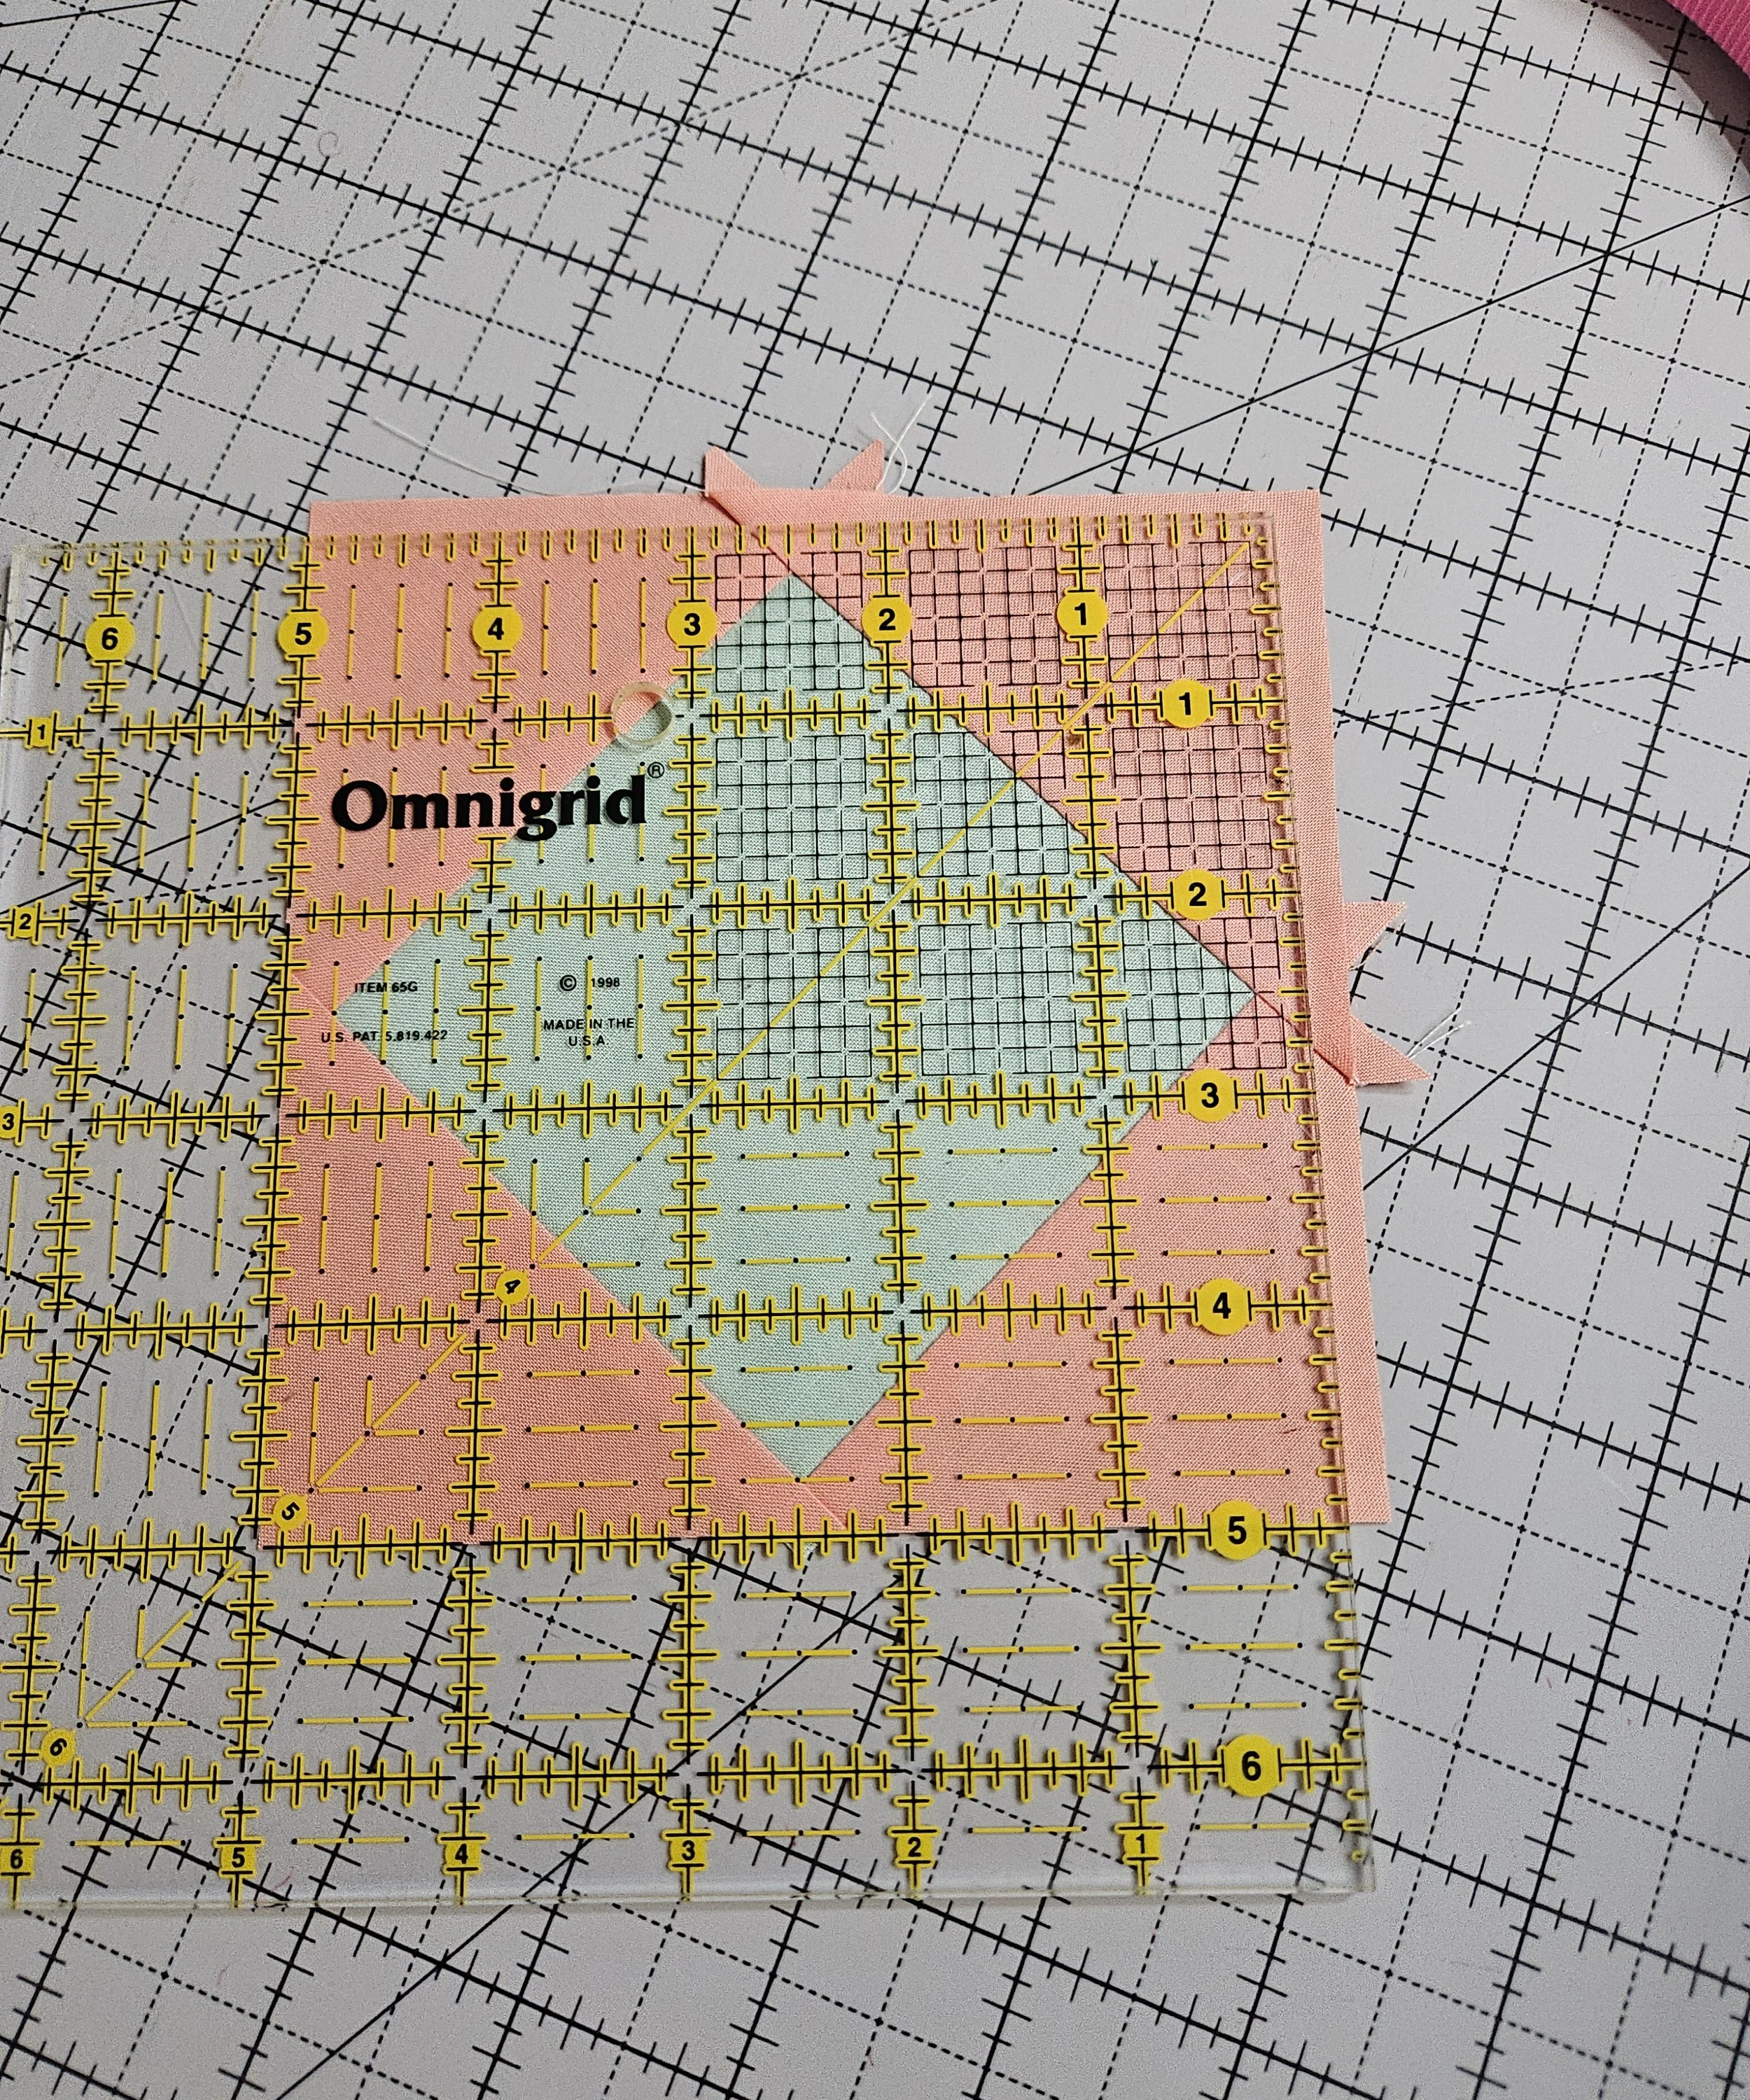
Measure the finished unit and trim if your pattern specifies.
A properly squared unit will make block assembly much easier and improve point matching throughout your quilt.
My Tip
I like to add opposite corners first, then the remaining two corners. It helps keep the block balanced while sewing and makes it easier to keep everything aligned.
Frequently Asked Questions
-
The most common causes are inaccurate seam allowances or stretching while pressing. Press gently and check your seam allowance if your center square finishes too small.
-
If your pattern recommends trimming, I do. Squaring the unit removes small inconsistencies and improves the accuracy of the finished block.
-
Yes. Some quilters prefer to sew all four corners first, then trim and press everything together. Others prefer to complete one corner at a time. Choose the method that works best for you.
-
Once the excess fabric has been cut away, it's much harder to correct a seam. Taking a few seconds to fold the corner open before trimming can save a lot of frustration later.
