
Before You Begin
Skill Level: Beginner
Technique: Traditional Piecing
Time Required: About 10–15 minutes
Tools Needed: Sewing machine, rotary cutter, quilting ruler, marking pencil, iron, one rectangle, two squares
Introduction
The stitch-and-flip method is one of the simplest ways to make Flying Geese. Instead of making several units at once, you'll construct each Flying Geese individually by sewing small squares onto the corners of a rectangle.
This method is especially useful when your pattern only needs a few Flying Geese or when you're working with directional prints that need to face a specific direction.
Step 1 – Position the First Square
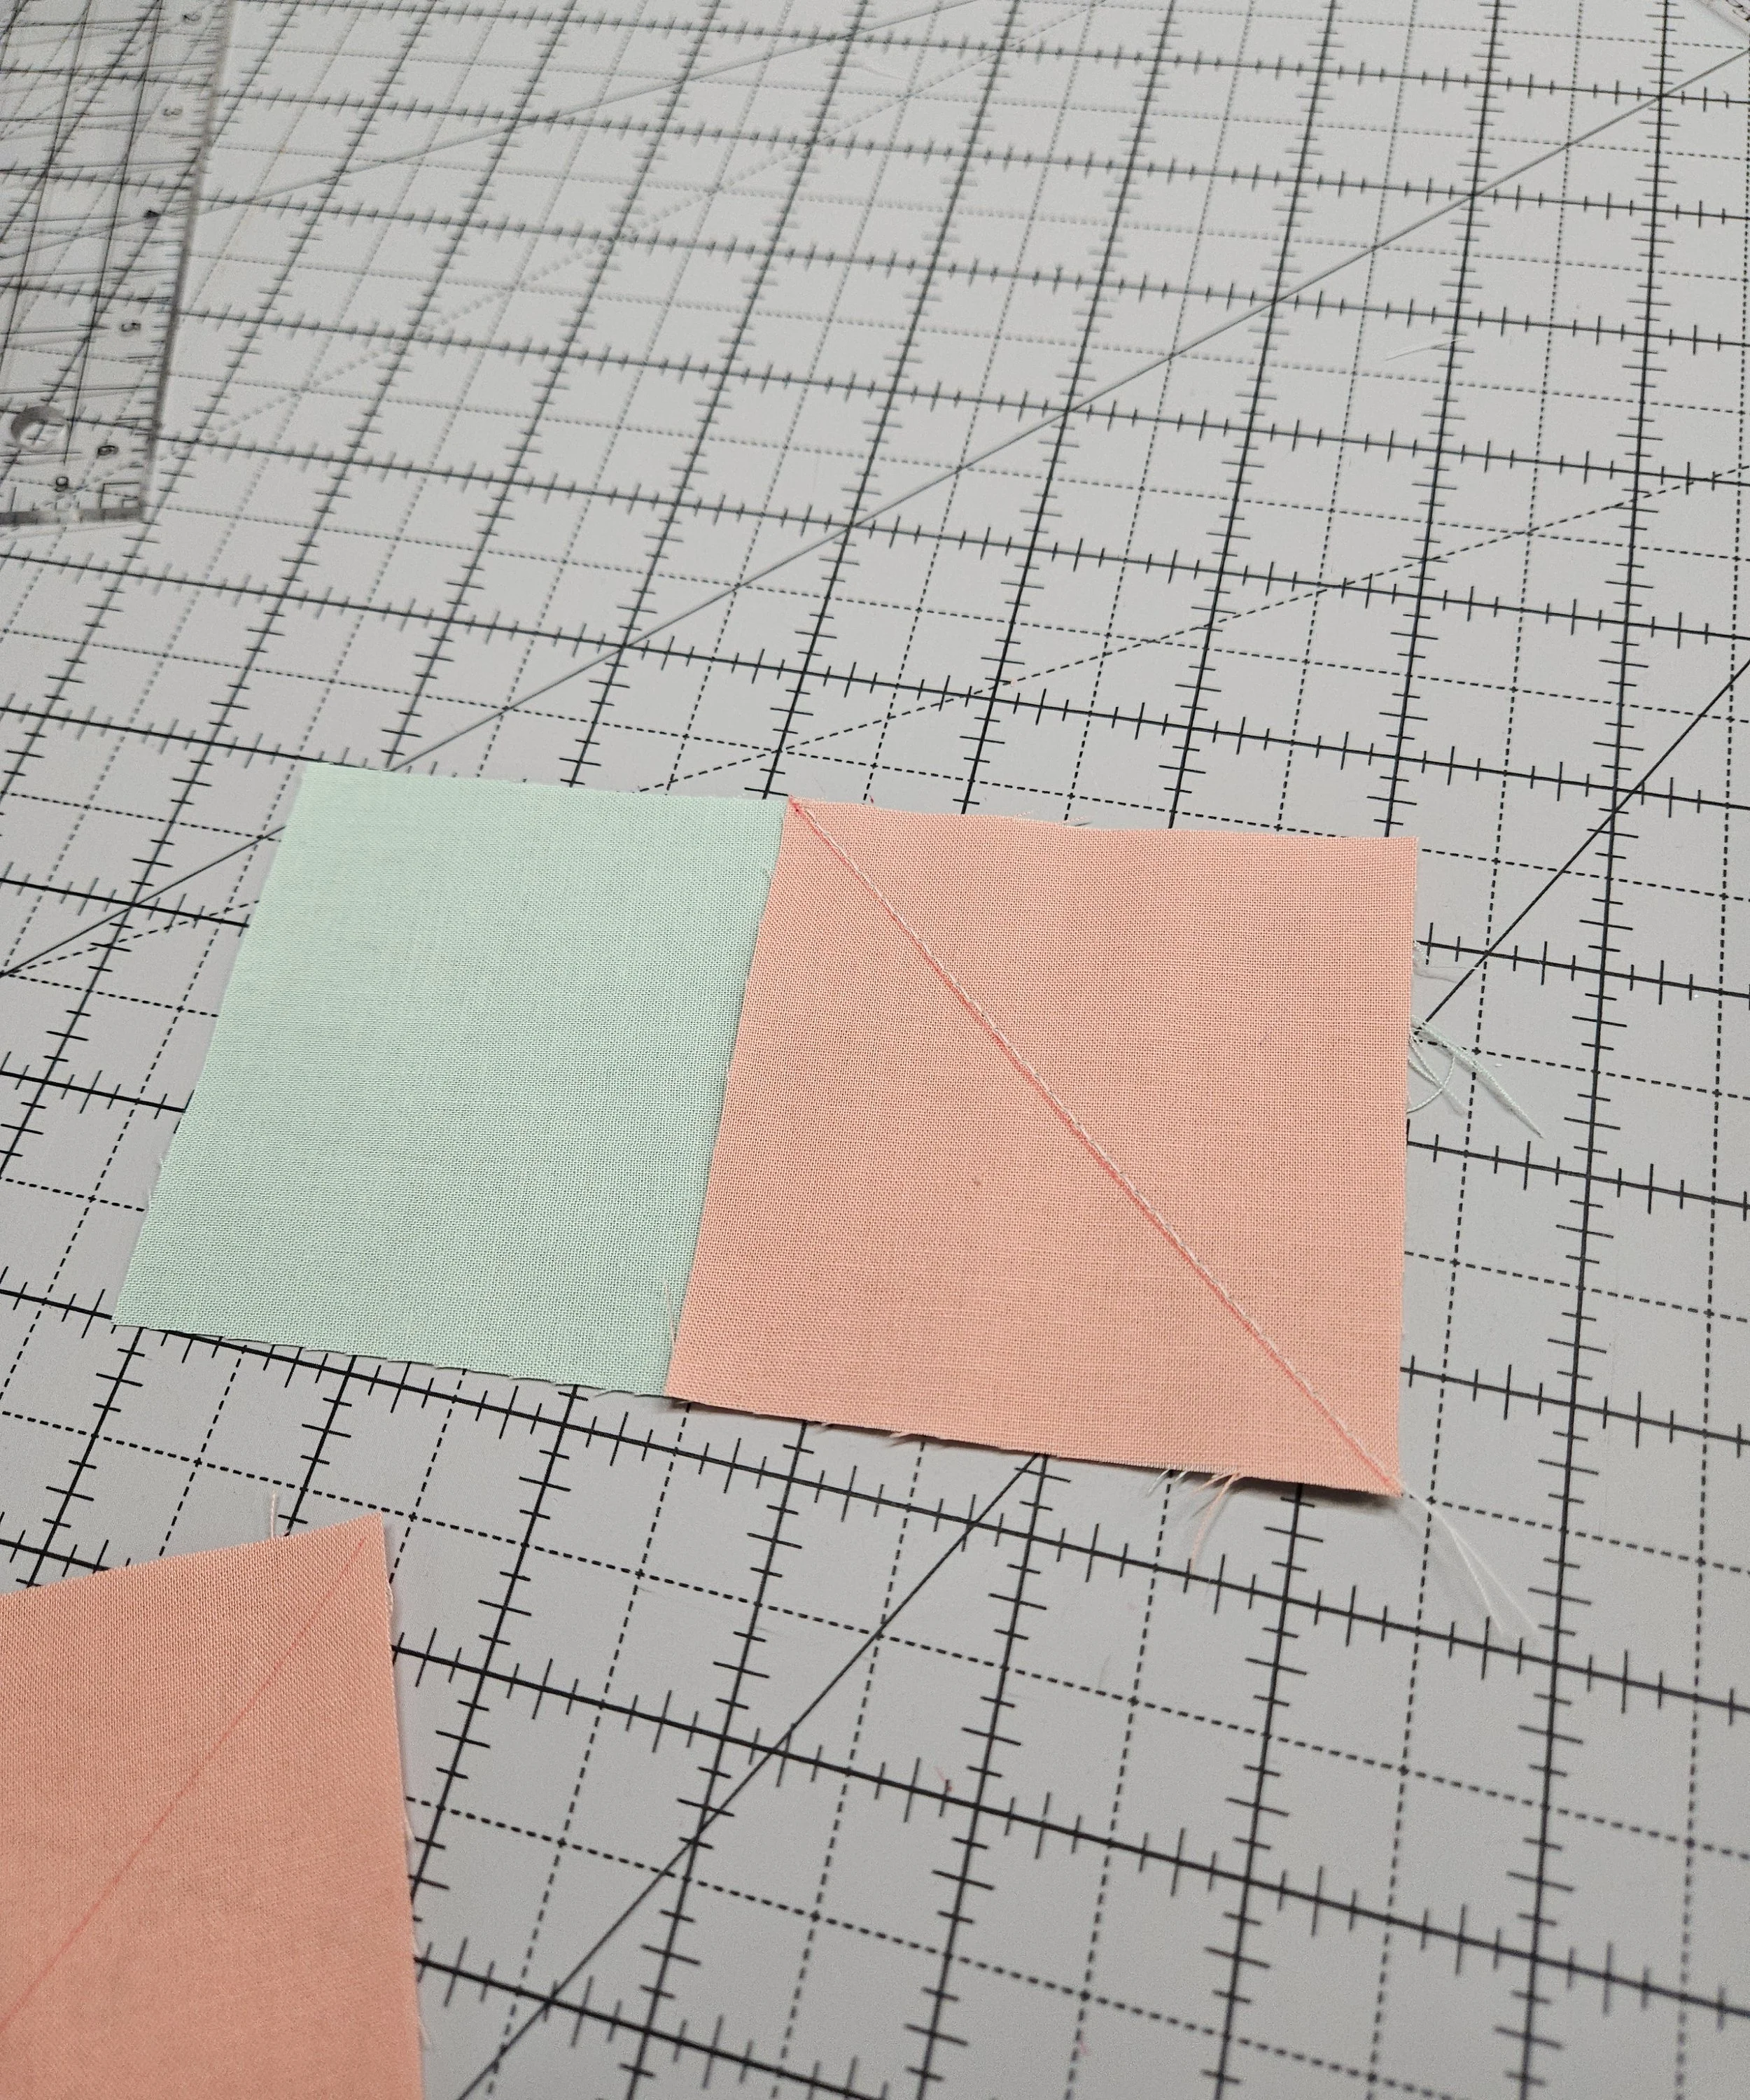
Place one small square on one corner of the rectangle, right sides together.
Draw a diagonal line from corner to corner on the wrong side of the square.
Step 2 – Sew the Diagonal
Sew directly on the marked diagonal line.
Before trimming, fold the corner open to make sure the triangle completely covers the corner of the rectangle.
If necessary, adjust the seam before trimming.
Step 3 – Trim and Press
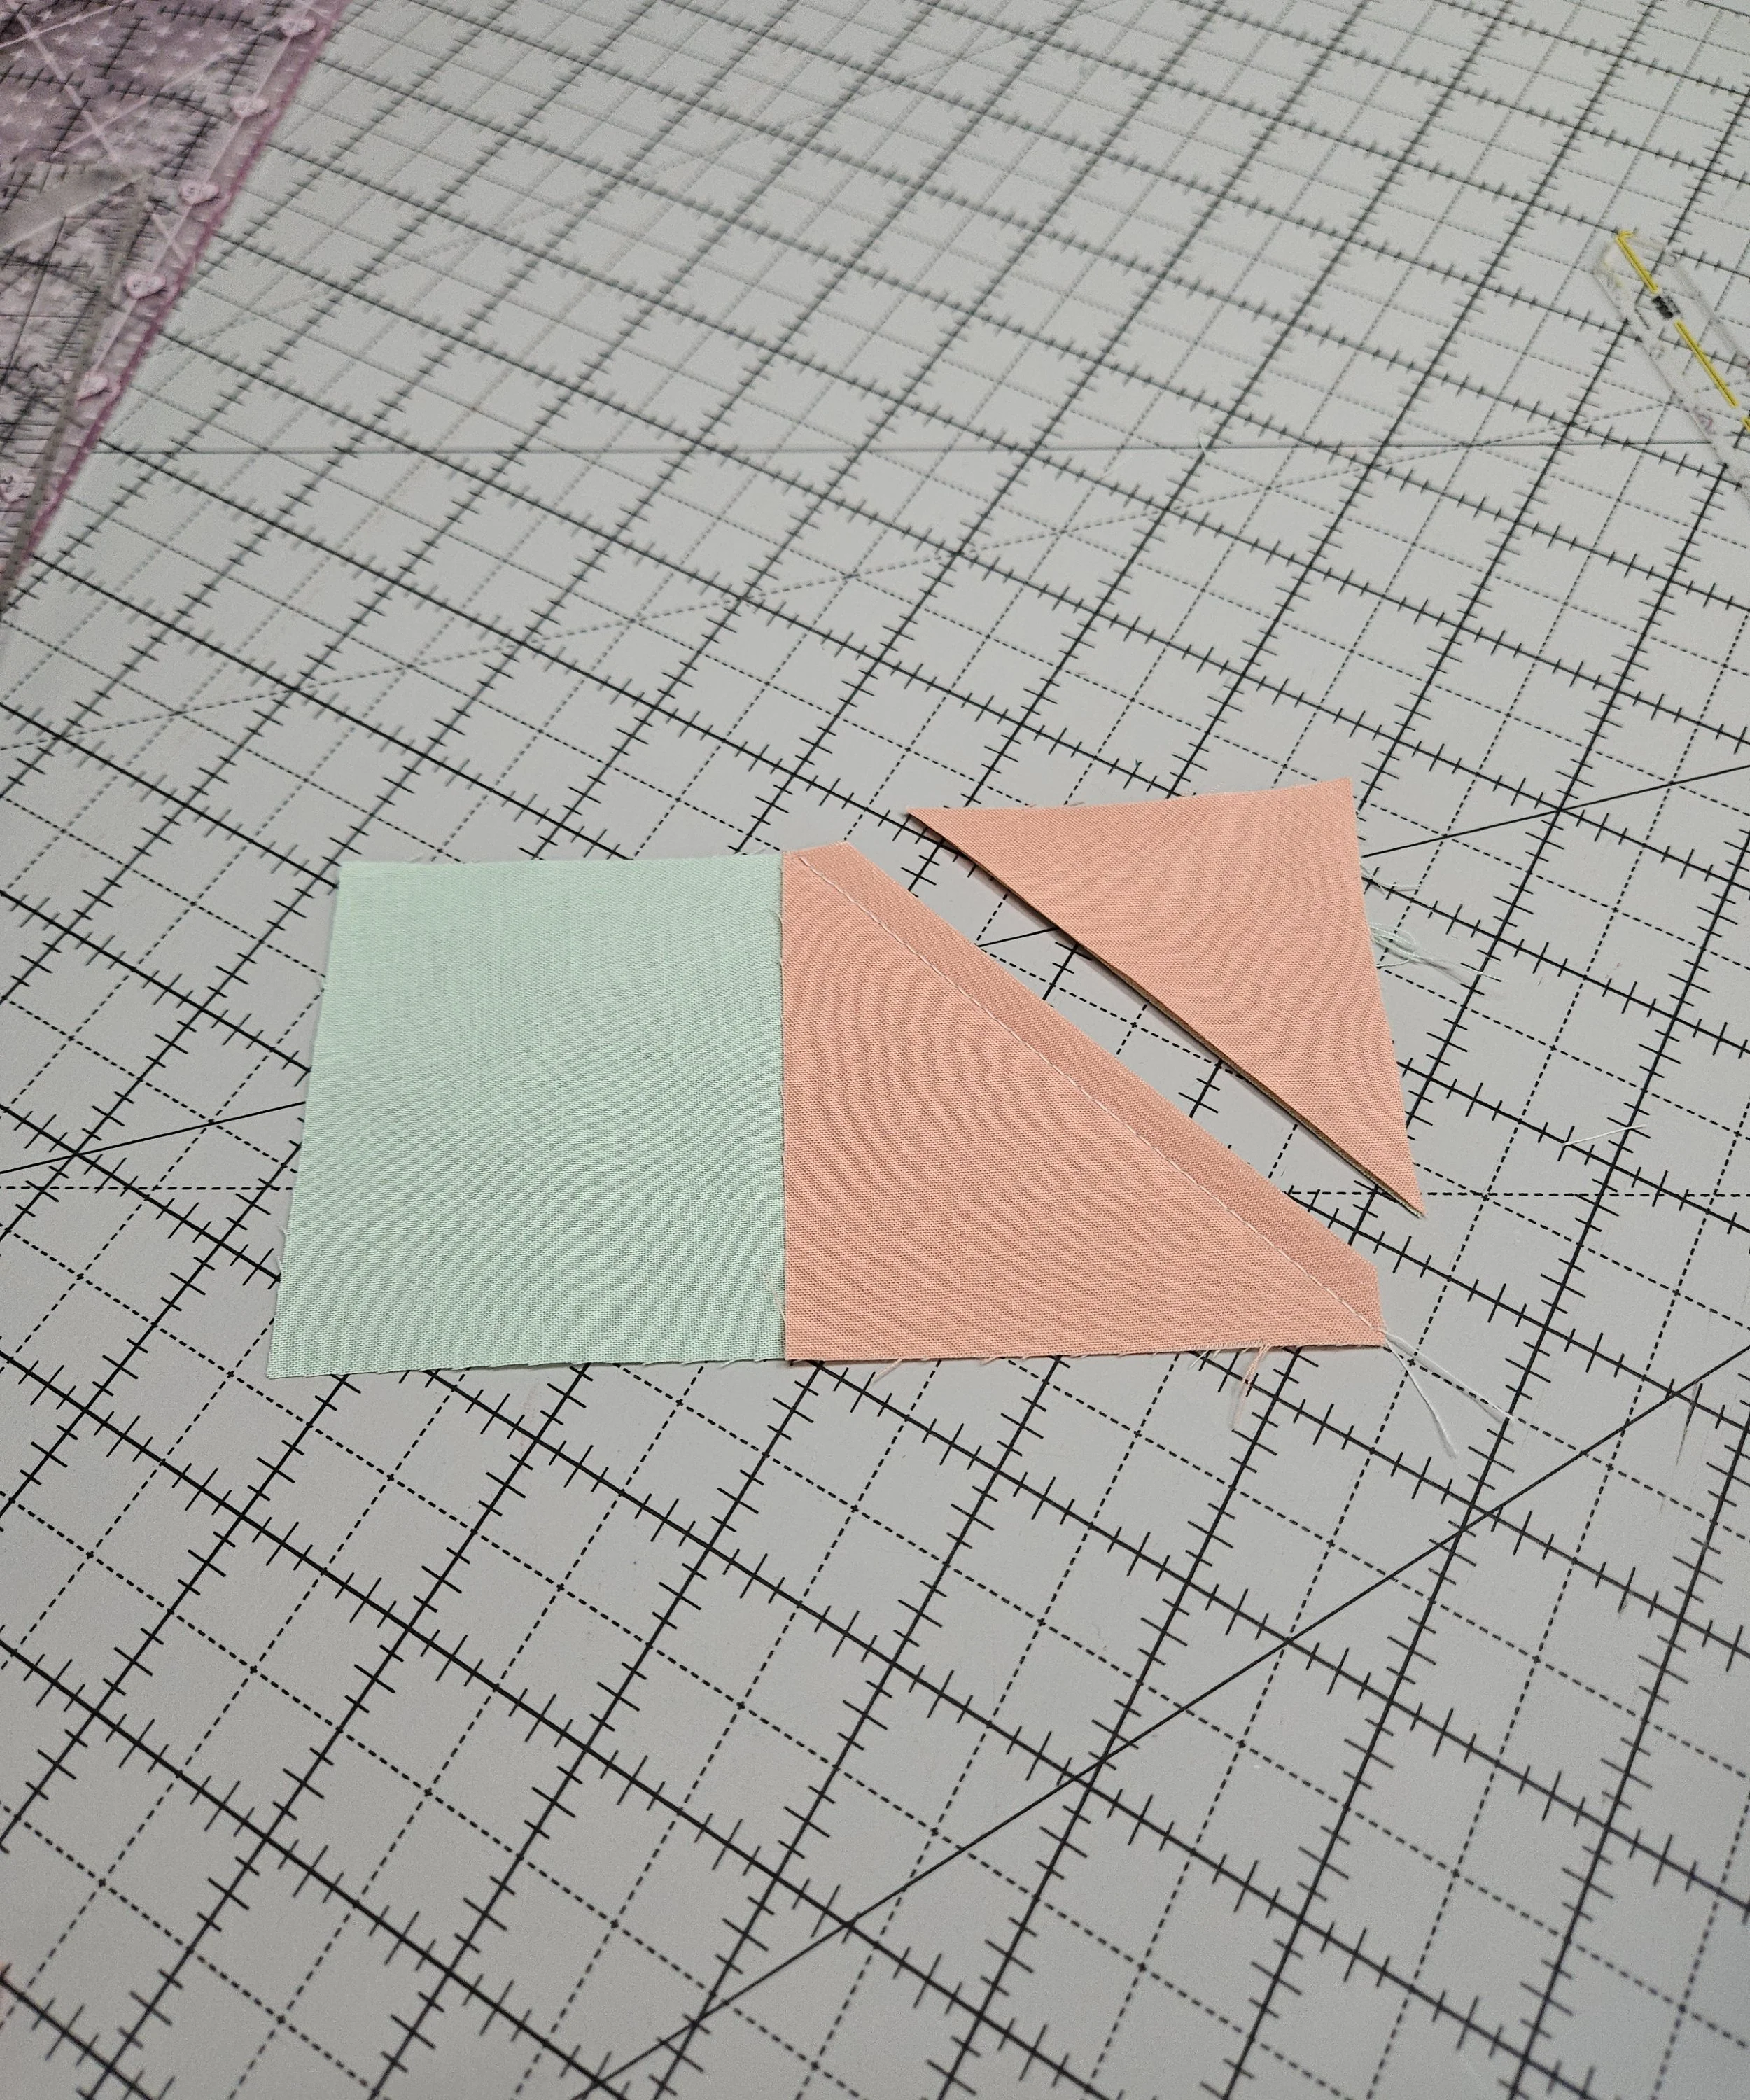
Trim away the excess fabric, leaving a ¼" seam allowance.
Press the triangle open.
Step 4 – Repeat on the Opposite Side
Place the second square on the opposite corner of the rectangle.
Draw the diagonal line, sew directly on the line, check the corner, trim the excess, and press.
Step 5 – Square the Unit
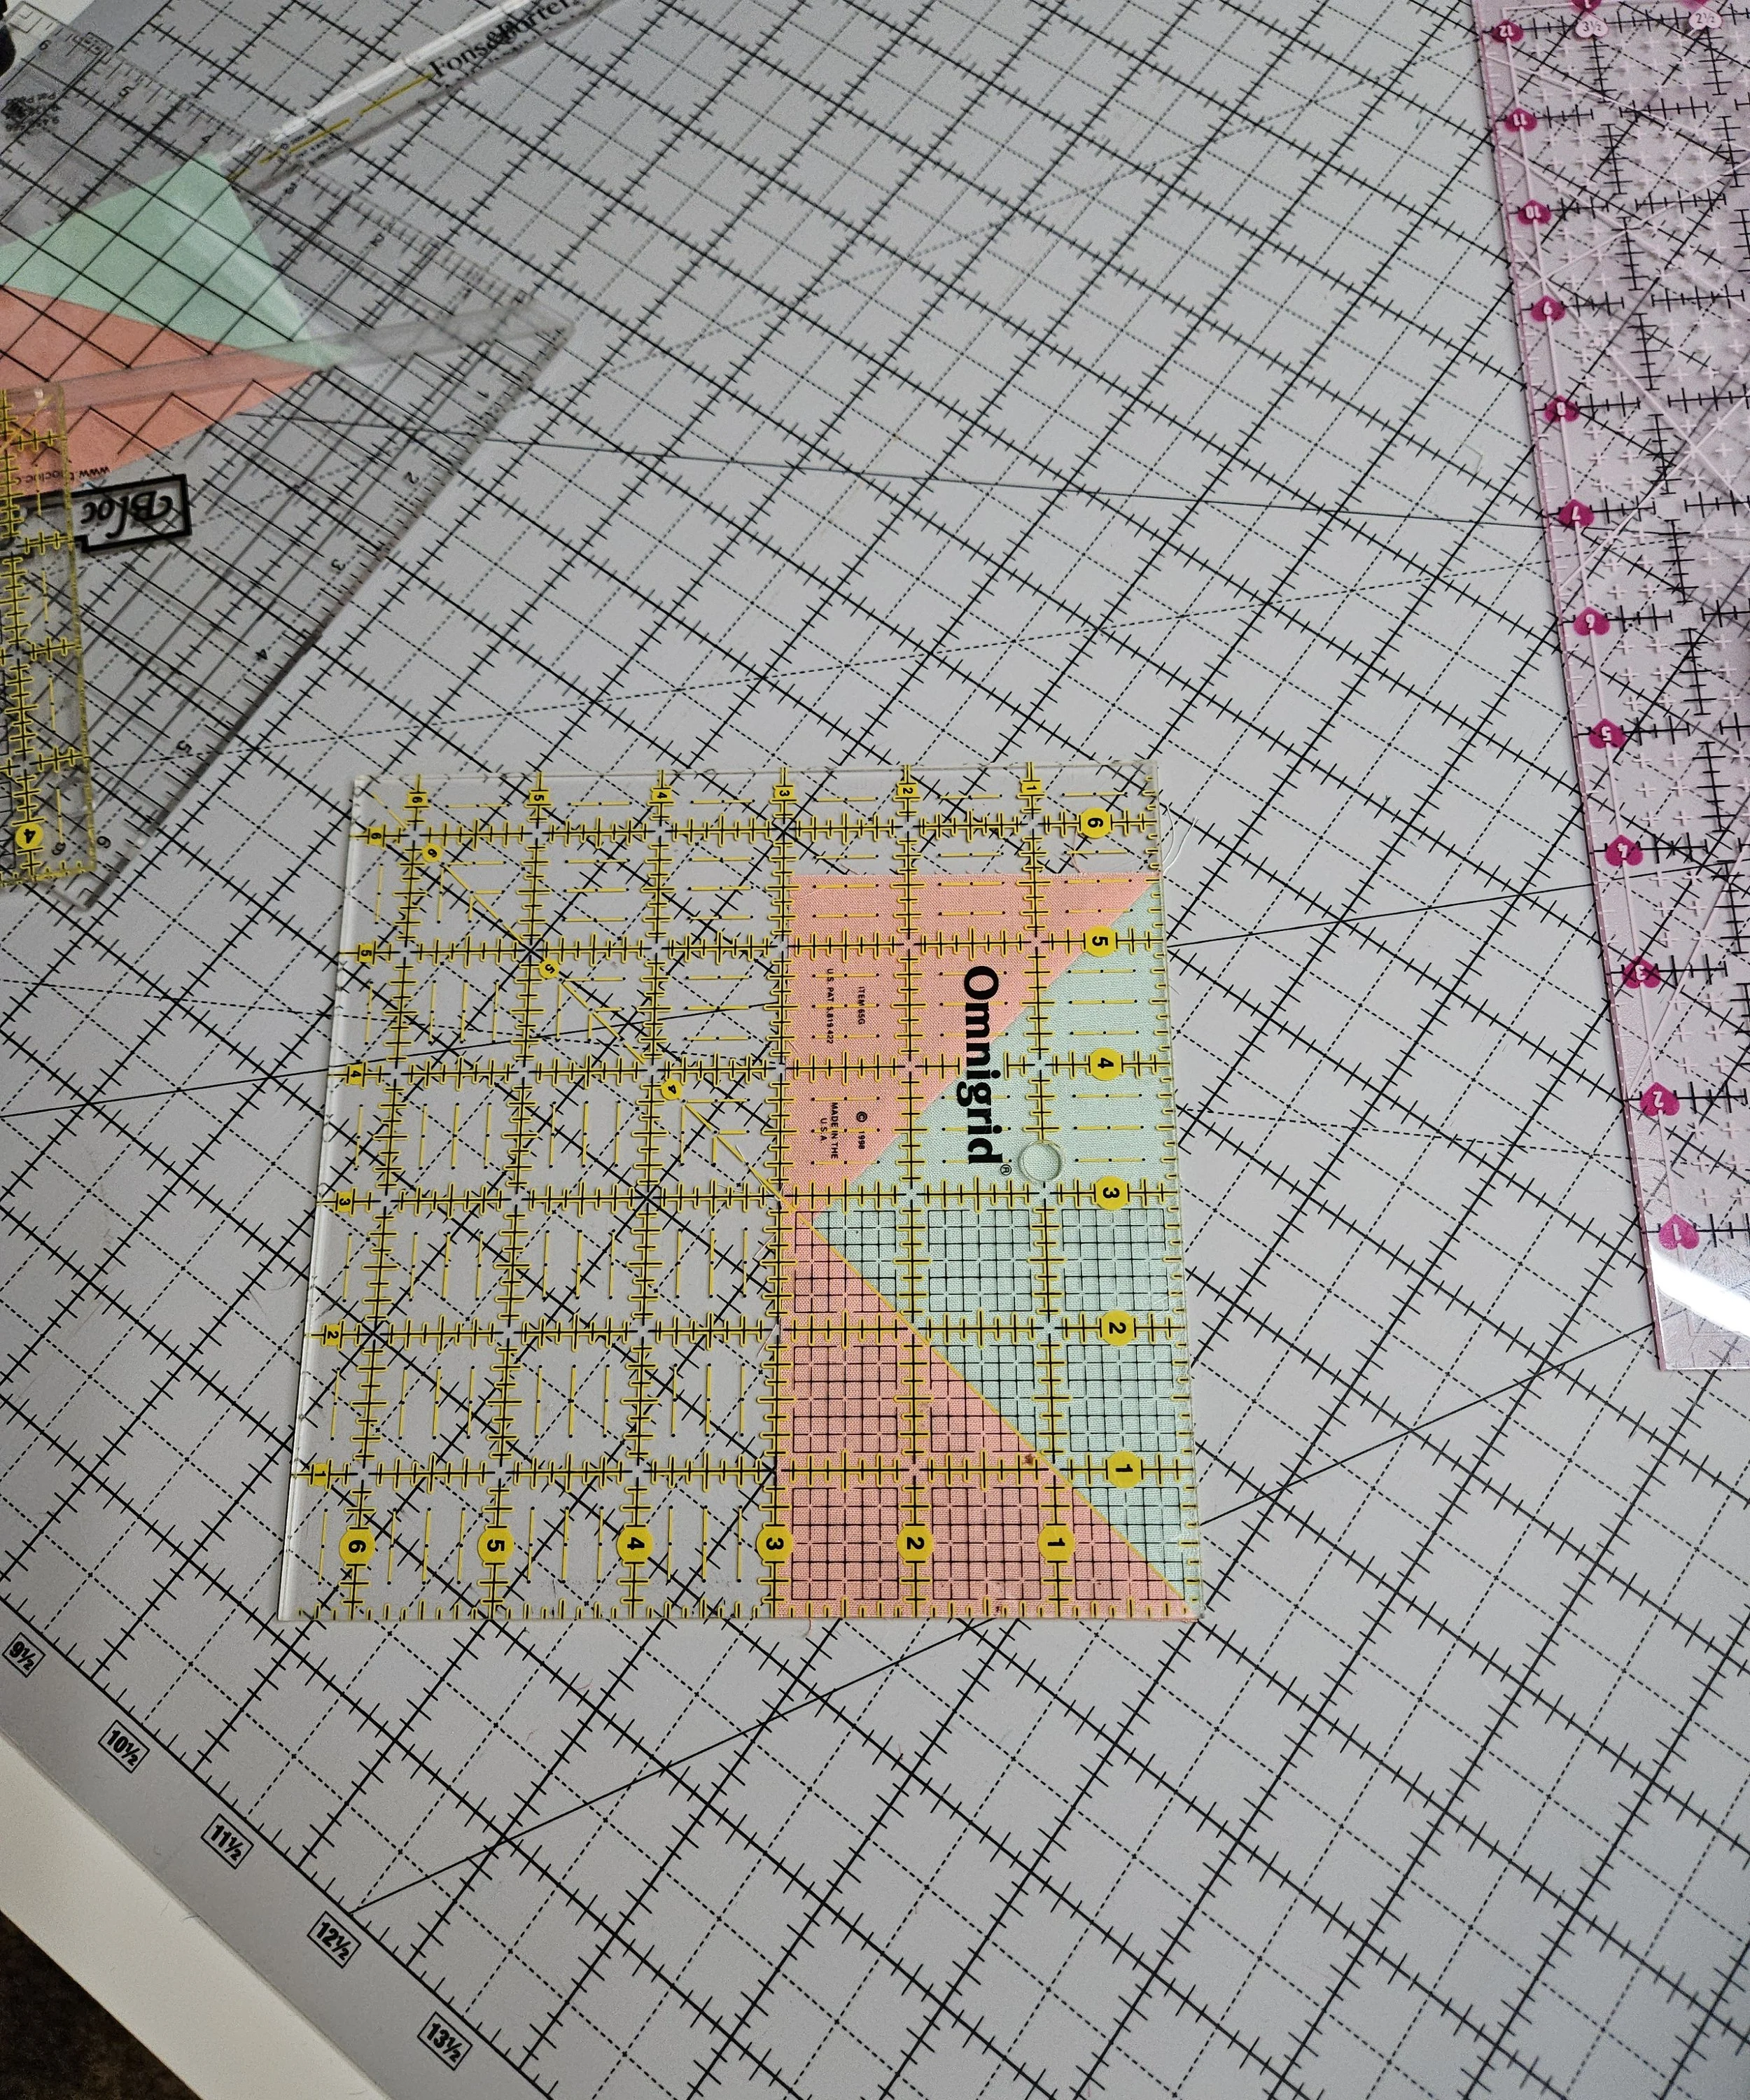
Measure the Flying Geese unit.
If your pattern recommends trimming, square the unit to the unfinished size before adding it to your block.
My Tip
Before trimming away the corners, I always fold the triangle open to make sure it completely covers the rectangle. It only takes a second, and it's much easier to fix a seam before trimming than after the excess fabric has been removed.
Frequently Asked Question
-
Stitch-and-flip is great when you only need one or two Flying Geese or when you're using directional fabrics. The no-waste method is more efficient when making several identical units.
-
Yes! If your pattern is sized appropriately, the trimmed corners can often be turned into bonus half-square triangles instead of being discarded.
-
This usually means the seam allowance was too wide or the corner shifted while sewing. Checking the corner before trimming helps prevent this problem.
-
If your pattern recommends trimming, I do. Squaring the unit helps ensure consistent sizing and improves block assembly.
